When you want a full day of fun, the goal is simple: fewer surprises, more smiles. The best wheelchair-friendly outings are the ones where you are not constantly rerouting around stairs, hunting for an elevator, or realizing the “accessible restroom” is actually on the other side of the park.
Below is my go-to checklist for picking attractions that feel easy from arrival to exit, plus a few itinerary hacks I wish every group knew before they rolled out the door.
What “wheelchair-friendly” should mean
Accessibility is more than a ramp at the front gate. For a low-stress day, look for attractions that consistently support mobility needs across the entire guest journey.
- Arrival is simple: accessible parking or drop-off close to the entrance, smooth curb cuts, and a clearly marked accessible entry.
- Routes are doable: wide pathways, minimal steep grades, and alternate routes that are not “back of house” or confusing.
- Comfort is built in: frequent rest areas, shaded seating, and places to pause without blocking foot traffic.
- Vertical movement is reliable: elevators are easy to find, large enough for a chair plus a companion, and not constantly out of service.
- Restrooms are truly accessible: multiple locations, not just one, with adequate turning radius and doors that are not a fight.
- Staff support is smooth: clear policies for ride transfers, accessible entrances, and accommodation processes that do not feel like a scavenger hunt.
The quick-read attraction scorecard
If you only have five minutes to decide whether an outing is worth it, this is my “yes or no” scorecard. Ideally, you can confirm most of this on the attraction’s accessibility page or by calling guest services.
1) Accessible entrance and arrival
- Parking and drop-off: Is there accessible parking near the main entry? Is the drop-off flat and close?
- Entrance clarity: Is the accessible entrance the same as the main entrance, or clearly marked nearby?
- Security lines: Is there an accessible lane or a staff member who can assist if the queue is tight?
2) Smooth routes and manageable distances
- Surface type: Look for smooth pavement, indoor flooring, or well-packed paths. Beware loose gravel, sand, and uneven cobblestones.
- Grades: A few gentle slopes are fine. Long, steep hills can drain energy fast and complicate manual chairs.
- Route options: Does the map show an accessible route, elevator locations, and step-free paths?
3) Rest areas and “reset spots”
- Seating frequency: Aim for seating every 10 to 15 minutes of rolling or walking.
- Shade and indoor breaks: Especially important for outdoor parks, zoos, gardens, and festivals.
- Quiet corners: Sensory-friendly or low-stimulation spaces help everyone recharge, not just kids.
4) Elevators and step-free indoor access
- Elevator count: One elevator for an entire multi-level venue is a bottleneck waiting to happen.
- Visibility: The best elevators are on the map and also easy to spot with signage.
- Backup plan: If an elevator is down, is there another step-free way to reach the experience?
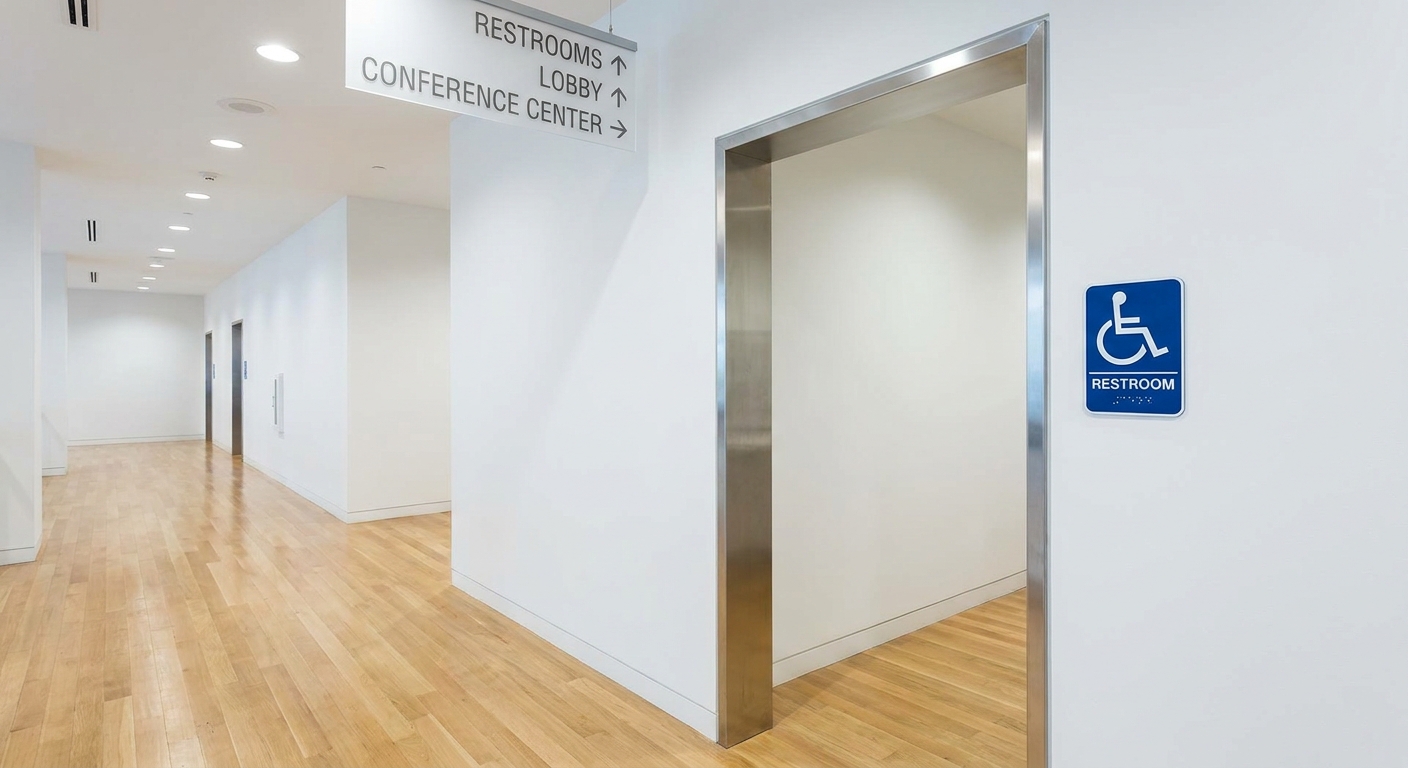
5) Accessible restrooms that are actually convenient
- Distribution: Multiple accessible restrooms spread throughout the venue beats a single “main” location.
- Space: Enough room to turn and position comfortably, with grab bars and a reachable sink.
- Companion care: If you need family restrooms or adult changing tables, confirm availability ahead of time.
Attractions that are usually easiest
Every venue is different, but these categories tend to offer the most consistent accessibility features and the least “terrain drama.”
Museums and aquariums
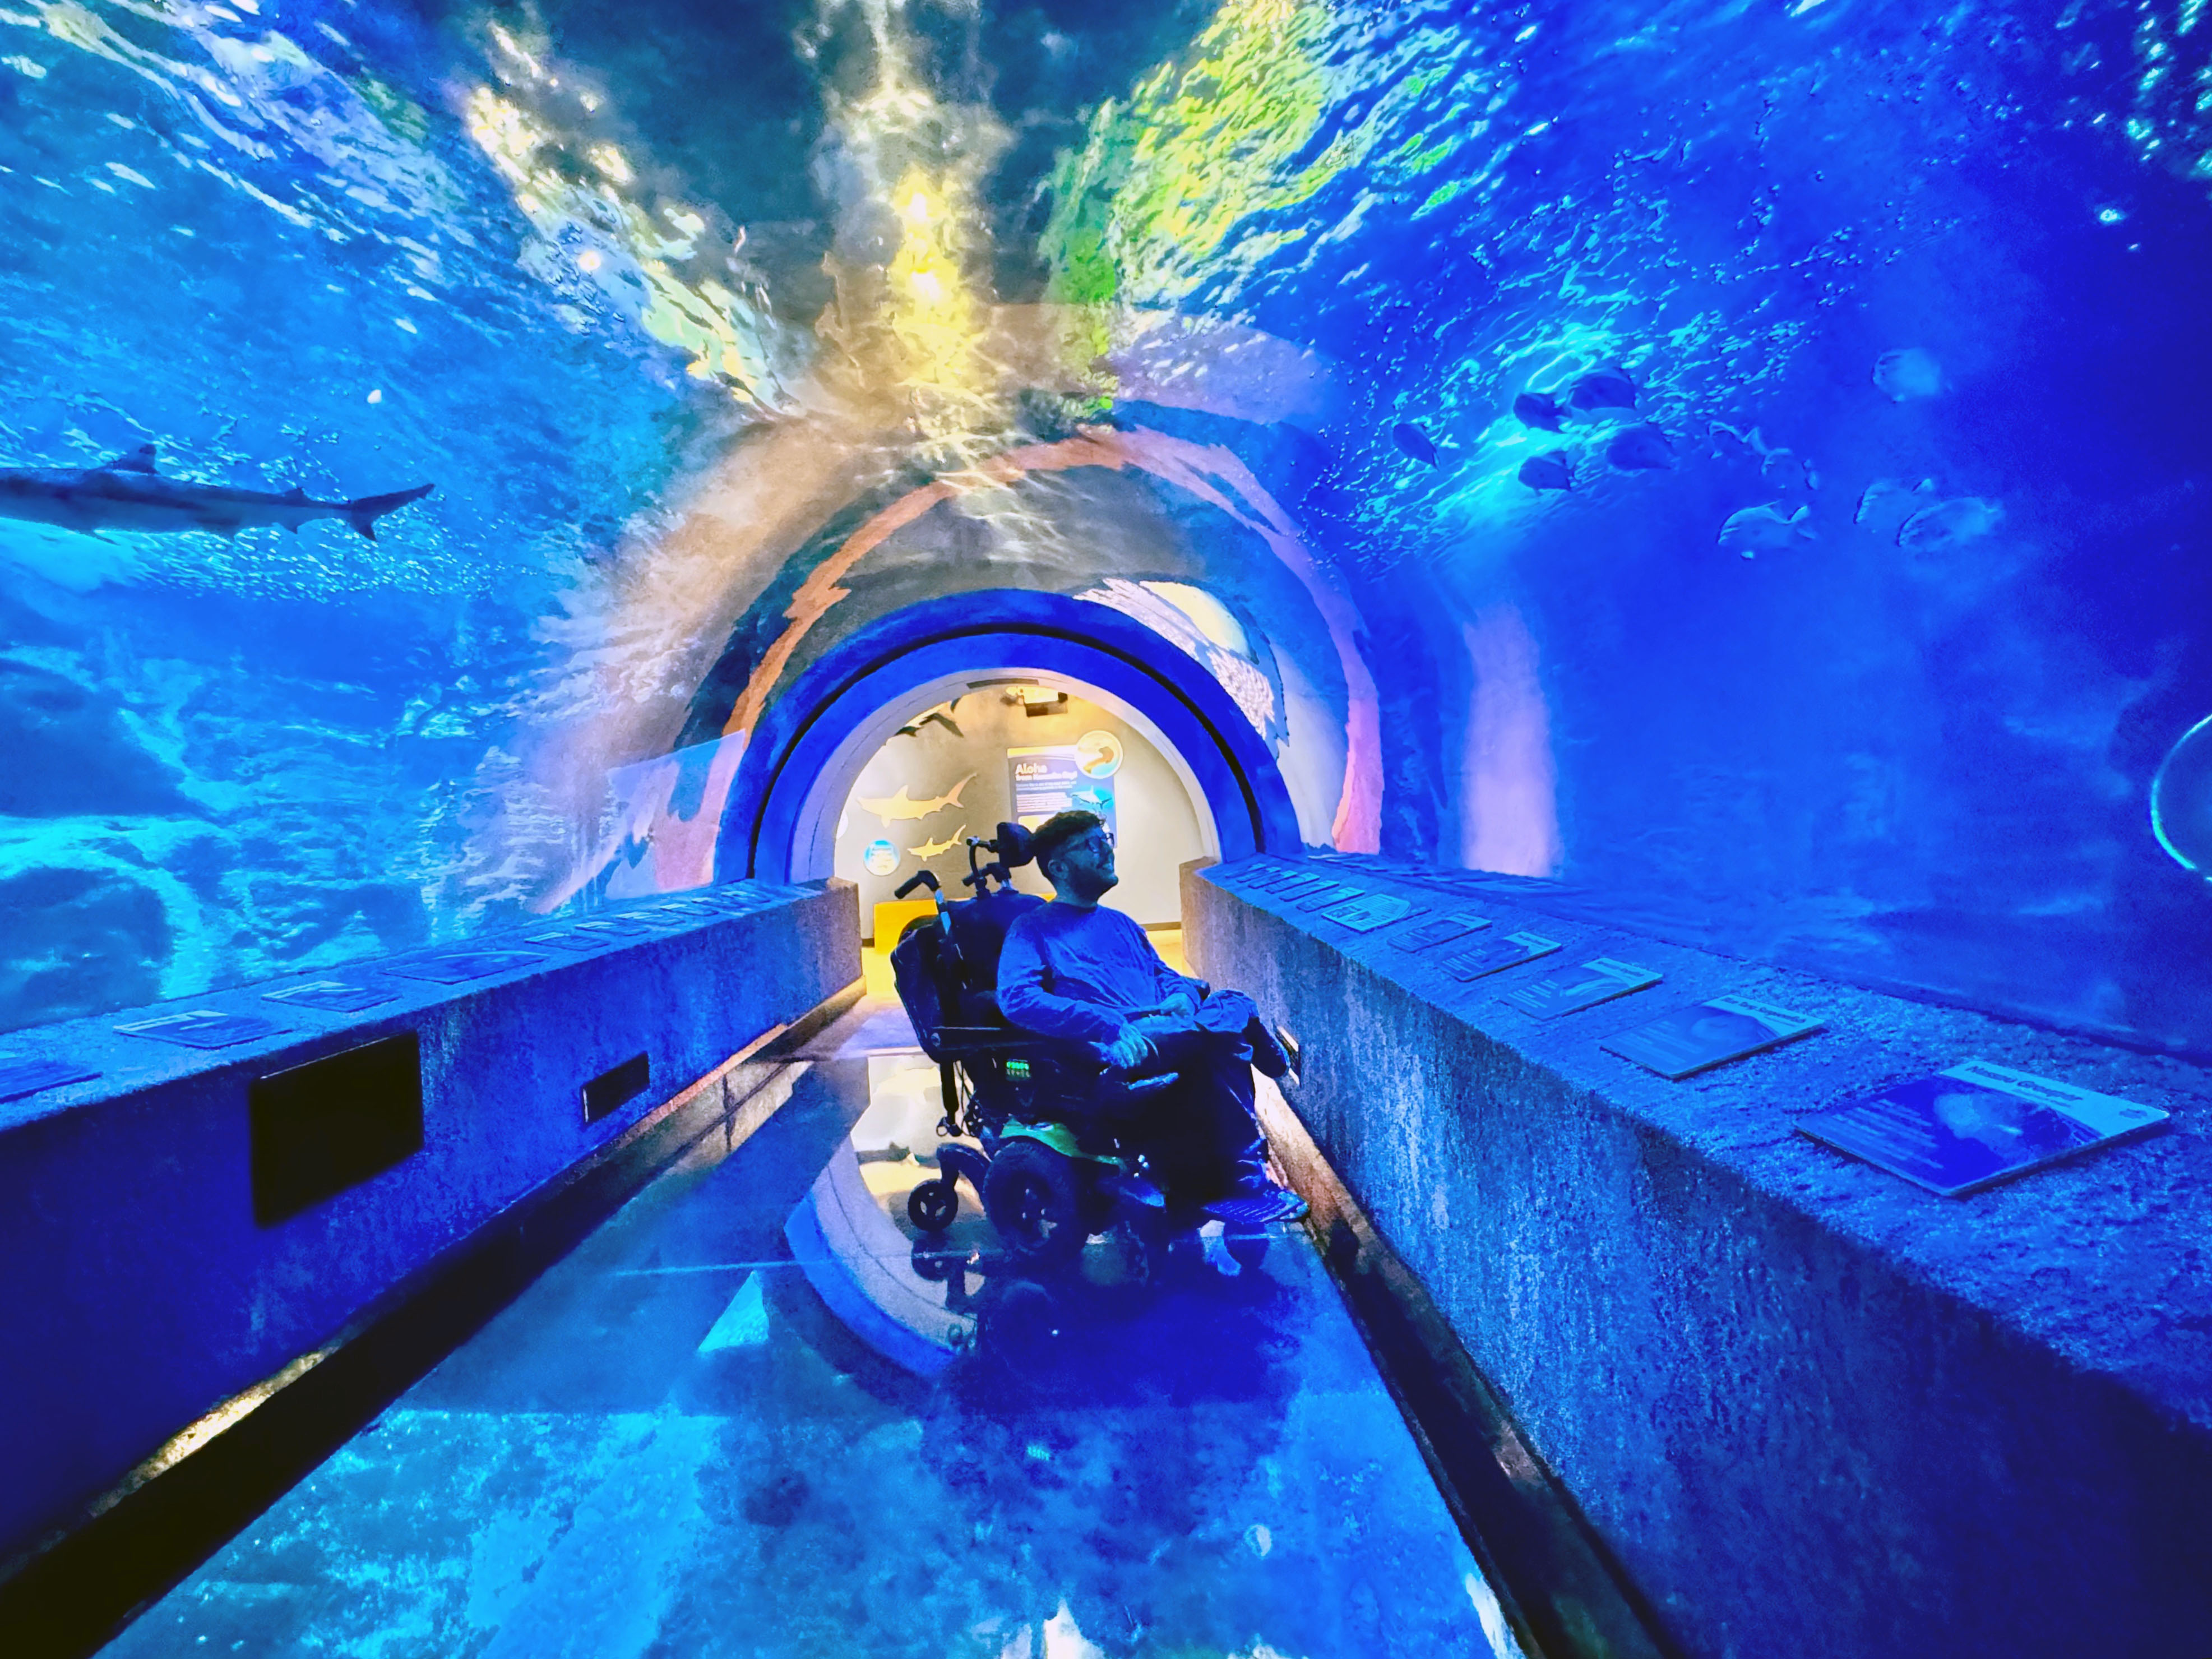
These are my top picks for a smooth, low-stress day because they are typically indoors, climate-controlled, and designed with elevators, ramps, and accessible restrooms on every floor.
- Best for: predictable routes, frequent seating, easy pacing
- Watch for: older historic buildings where elevators are limited or tucked away
Major theme parks
Big theme parks often have the most detailed accessibility resources: downloadable guides, trained staff, and clearly defined processes for attractions and shows.
- Best for: accessible transportation systems, lots of restroom options, many indoor shows for breaks
- Watch for: long distances, heavy crowds, and wait times that spike fatigue
Zoos with internal transportation
Zoos can be fantastic if they have smooth paths, tram options, and plenty of shade. A zoo with a loop tram can turn a potentially exhausting day into an easy one.
- Best for: flexible pacing, frequent stops, family-friendly rhythm
- Watch for: hilly layouts, older sections with rough pavement
Botanical gardens with paved loops
Gardens are wonderful for a calmer day out. Look for paved primary routes, accessible viewpoints, and seating tucked into scenic spots.
- Best for: quiet vibes, wide paths, photo-friendly rest stops
- Watch for: “natural surface” trails that are technically open but not truly comfortable
How to plan a low-stress full day
Even the most accessible attraction can feel tough without a little pacing strategy. Here is how I plan a day that stays fun all the way to dinner.
Build the day around comfort
- Pick 1 to 2 “anchor” experiences: a show, a signature exhibit, a headline ride. Everything else is bonus.
- Schedule breaks on purpose: every 60 to 90 minutes, plan a seated reset, snack, or indoor stop.
- Keep a “quick exit” option: a café near the front, a gift shop with seating, or a shady patio for the last hour.
Choose your timing
- Arrive early: smoother parking, shorter lines, and more space to navigate.
- Avoid the mid-day crush: If crowds peak from late morning to early afternoon, use that time for a seated show or lunch.
- Check for special events: festivals, school field trips, and holiday weekends can change everything.
Bring a small “comfort kit”
I keep this simple and realistic. You are not moving in, you are just preventing avoidable stress.
- Refillable water bottle
- Snack that does not melt
- Portable phone charger
- Light jacket or sun protection
- Any mobility essentials like gloves for pushing, a small towel for heat, or a rain cover if weather is fickle
Call ahead when one detail matters
If transfers, ride access, or seating accommodations are key, a quick call can save you from learning policies at the worst possible moment.
- Ask: “Is the accessible entrance the same as the main entrance?”
- Ask: “Where are the elevators and accessible restrooms located?”
- Ask: “Do you offer wheelchair rentals, and can we reserve?”
- Ask: “For shows, is there wheelchair seating, and do we need to arrive early?”
Route planning that works
Maps are helpful, but the best accessible routes are the ones that minimize backtracking. Here are a few ways to build a route that feels smooth.
Start far, finish near the exit
If the venue is large, head to the far end early while everyone is fresh, then work your way back toward the entrance. It is a classic event-planner trick for ending the day close to the exit and the car.
Use loops, not zigzags
Look for a primary loop route with clear cut-throughs. Loops reduce the need to reverse course, which is where crowds and bottlenecks can get frustrating.
Plan meals near restrooms
This is not glamorous, but it is practical. Picking lunch spots near accessible restrooms and shaded seating can reset the whole group’s mood.
Families: small tweaks
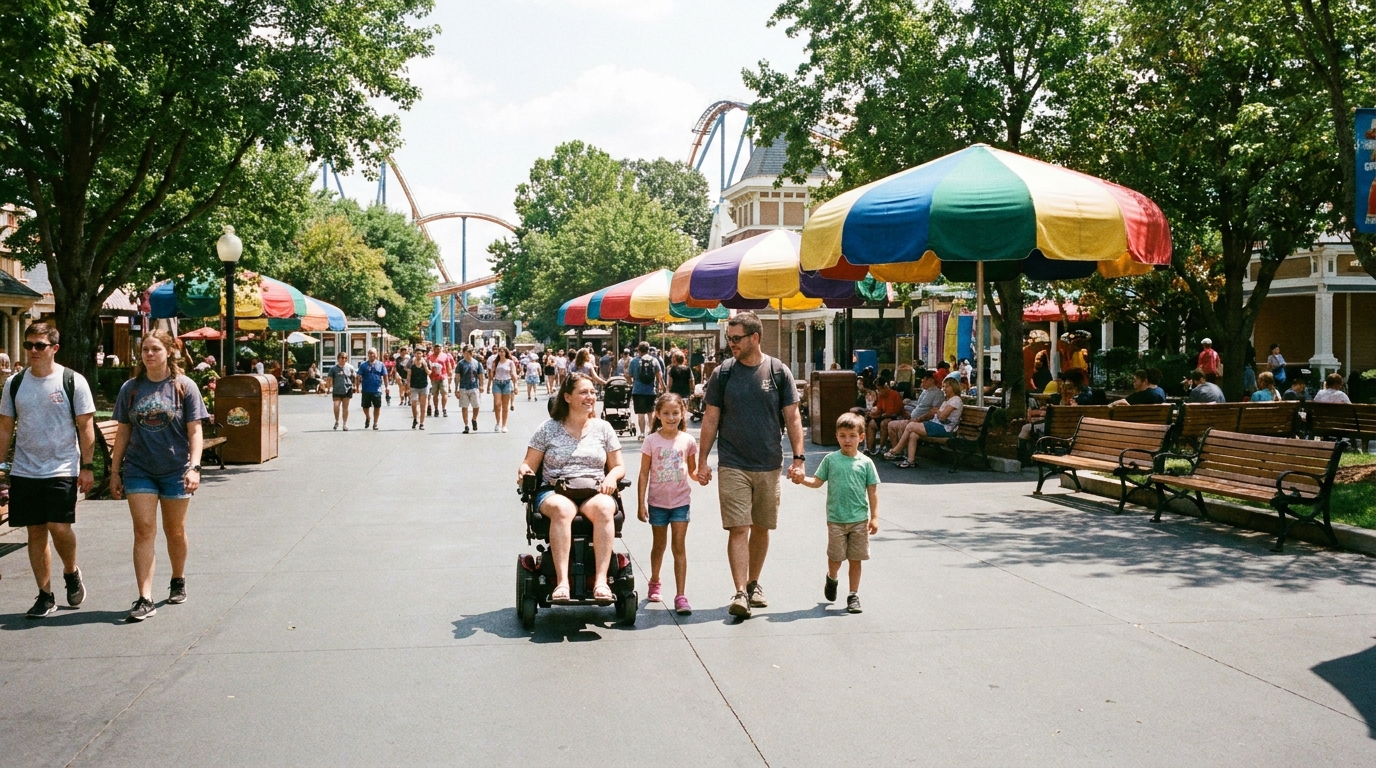
When you are juggling kids, snacks, and bathroom breaks, accessibility planning is basically your secret weapon for staying cheerful.
Prioritize shows and hands-on exhibits
Shows offer a guaranteed sit-down break. Interactive exhibits are great because you can engage without rushing from one place to the next.
Confirm stroller and wheelchair flow
If your crew includes both strollers and a wheelchair, look for venues with wide ramps, roomy elevators, and open seating areas. Tight gift shops and narrow queues can turn into traffic jams fast.
Use a two-bathroom rule
Before you commit to an area of a large attraction, note where the nearest two accessible restrooms are. If one is closed for cleaning, you still have a plan.
Couples and solo: keep it easy
Low-stress does not have to mean low-fun. For a date day or solo reset, I love attractions that let you move at your own pace and linger in the best spots.
- Pick one reservation: a timed-entry exhibit, a behind-the-scenes tour, or a restaurant with accessible seating and step-free entry.
- Choose scenic breaks: rooftop viewpoints with elevators, waterfront promenades with smooth paths, or indoor cafés with window seats.
- Ask about accessible seating: for shows, parades, fireworks, and seasonal events. Getting the right spot can change the whole experience.
Green flags and red flags
Green flags
- Accessible info is easy to find online and written clearly
- Maps show elevators, ramps, accessible restrooms, and step-free routes
- Multiple restrooms and rest areas across the property
- Staff are visible and trained to help without making it awkward
- Wheelchair rental options are available and clearly explained
Red flags
- “Accessible entrance” is vague or requires a long detour
- Only one elevator serves multiple floors
- Restrooms are limited to one location
- Steep hills are unavoidable and not mentioned anywhere
- The only way to get answers is a generic contact form
FAQ
How do I know if an attraction is truly wheelchair-friendly?
Look for specifics: step-free entrances, mapped elevator locations, notes about terrain and slopes, accessible restroom locations, and clear policies for rides or shows. If the site is vague, a quick call to guest services can tell you a lot.
Are older historic attractions usually accessible?
Some are, many are partially accessible. Historic buildings can have tight spaces and limited elevator access. If a venue is in a landmark building, confirm exactly which areas are step-free and whether any exhibits require stairs.
What should I do if the accessible route is longer?
Plan it like you would plan a scenic route. Build in a break, aim for a loop that reduces backtracking, and prioritize the experiences that matter most so you do not feel rushed.
Is it worth renting a wheelchair even if someone can walk some of the day?
Often, yes. Large attractions involve more distance than people expect. A rental can help conserve energy so the day stays enjoyable, especially for theme parks, zoos, and campuses with lots of walking between areas.
A simple full-day sample plan
Use this as a flexible template and swap in your attraction type of choice.
- 9:30 AM: Arrive early, handle entry and orientation, note restroom locations
- 10:00 AM: Head to the farthest must-do experience first
- 11:00 AM: Seated break or indoor exhibit
- 12:00 PM: Lunch near accessible restrooms and shade
- 1:00 PM: Main loop route, one or two stops max
- 2:30 PM: Show or café reset
- 3:30 PM: Easy final experiences close to the entrance
- 4:30 PM: Shop, snack, and a calm exit
Want help choosing an outing? If your site has comments, share your city (or where you will be visiting) and the kind of day you want, like a museum, zoo, theme park, garden, or boardwalk. Readers often have great local suggestions, and it is a helpful way to swap the details that make an outing feel truly easy.