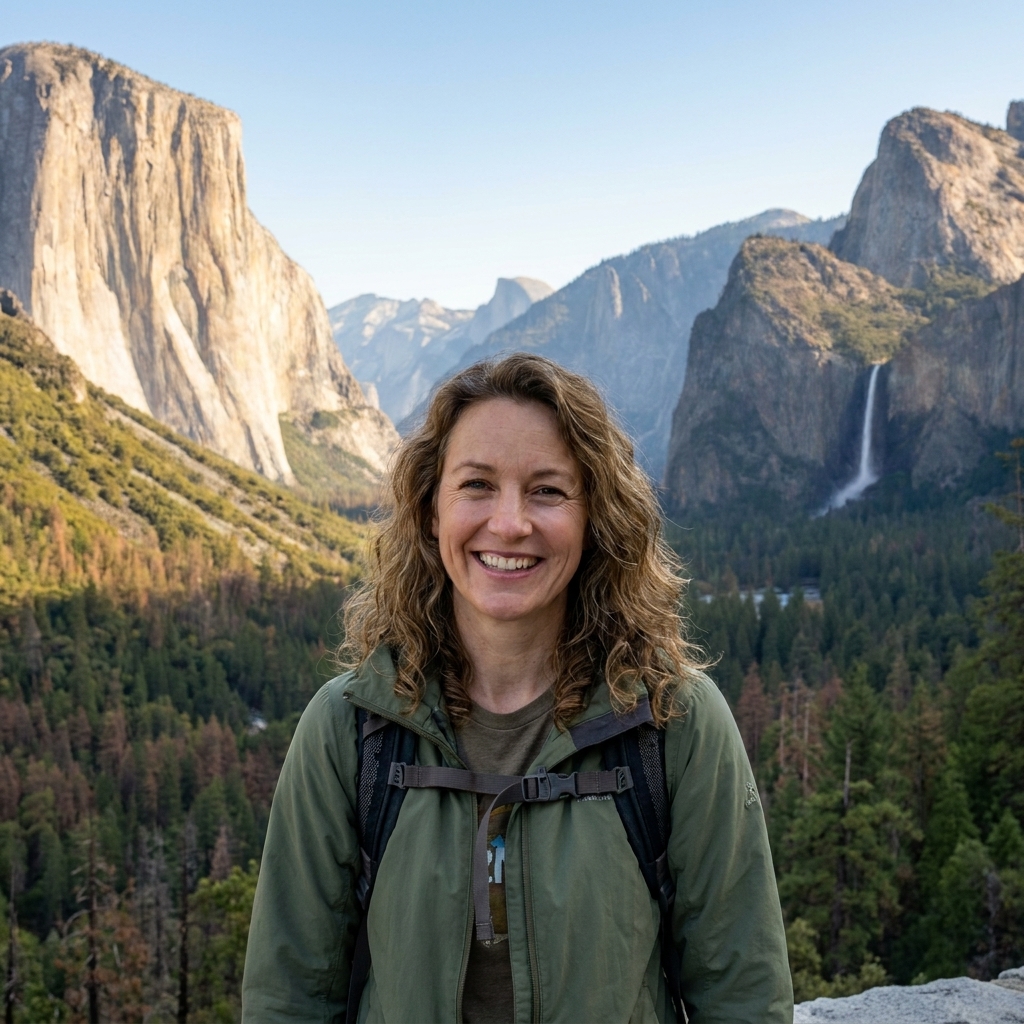
I grew up just outside Orlando, where “a day outside” often meant strategizing curb cuts, crowd patterns, and the exact snack stop that would keep everyone happy. Years later, after planning events for a living, I still approach outdoor days the same way: with a little pre-game research so the actual adventure feels effortless.
Below are 15 wheelchair-accessible nature trails and outdoor attractions across the U.S. I like because they often deliver on the basics that matter: stable surfaces, manageable grades, accessible restrooms when available, and views worth rolling for. Accessibility changes with weather, maintenance, and construction, so I am also giving you a quick “what to verify” note for each stop.
Before you go: quick checklist
- Surface: Look for paved, boardwalk, compacted gravel, or well-maintained hardpack. Be cautious with vague “rocky but fine” language.
- Grade and cross-slope: Even smooth pavement can be tough if the slope is sustained or the cross-slope pulls you sideways. If steep downhills are a no-go for you, pick flatter overlooks and short loops.
- Width and turning space: Scooters and power chairs need room to pass, turn, and pull off. Narrow pinch points matter more than total trail length.
- Restrooms: In remote parks, confirm an accessible restroom at the trailhead, visitor center, or a nearby lodge. Many restrooms are seasonal.
- Parking: Check for marked accessible spaces and how close they are to the start. In big parks, also check shuttle rules for mobility devices.
- Timing: Go early for cooler temps, fewer crowds, and easier parking. In famous national parks, sunrise-adjacent is your secret weapon.
- Wet surfaces: Boardwalks can be slick after rain, dew, or algae growth. Slow down and consider gloves for pushing.
Friendly note: Conditions change fast. If you are driving a long distance for one specific trail, check the park’s official “Accessibility” and “Alerts/Closures” pages, or call the visitor center.
Top 15 accessible trails and outdoor stops
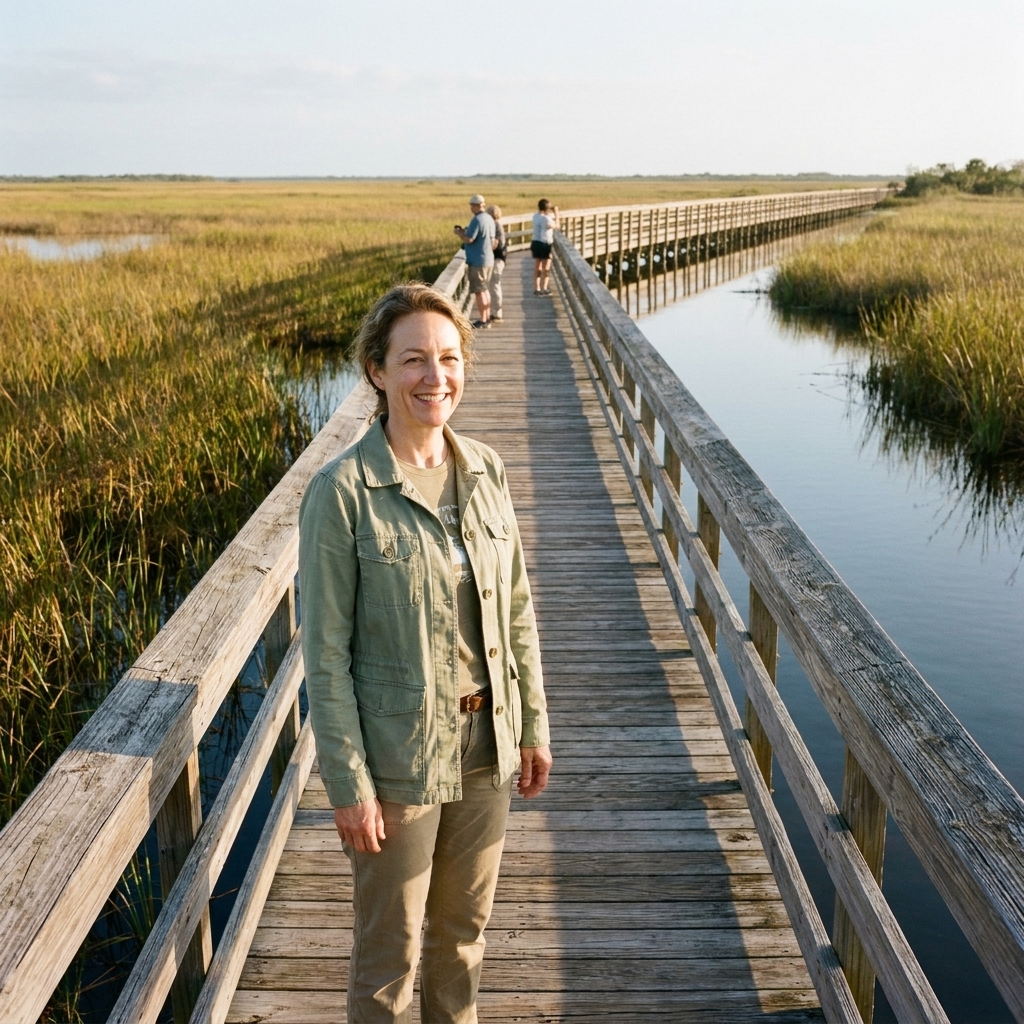
1) Anhinga Trail (Everglades National Park, Florida)
If you want maximum wildlife payoff in a short, flat roll, this is the one. The Anhinga Trail is a classic Everglades boardwalk where you can spot wading birds, turtles, and often alligators from a protected route.
- Start: Royal Palm area (Anhinga Trail trailhead).
- Surface: Boardwalk plus paved approaches.
- Distance: About 0.8 miles (out-and-back), commonly listed as 0.8 miles total. Some maps describe a loop using nearby connectors, but treat 0.8 miles as the reliable, main boardwalk experience.
- Grade: Generally flat.
- Restrooms: Typically near the developed Royal Palm area, verify hours and availability.
- Parking: Developed lot near the trailhead, confirm accessible spaces.
- Wheelchair and scooter notes: Wildlife viewing is close and frequent, which means stop-and-go crowds. Passing space can tighten at popular viewing points.
- Planner tip: Bring binoculars and bug protection. In heat and humidity, do this early.
- Verify: Boardwalk conditions after storms, any temporary closures, and whether any reroutes affect the full out-and-back.
2) Pa’rus Trail (Zion National Park, Utah)
Zion is dramatic, and it can be very wheel-friendly in the right places. Pa’rus is a paved, river-hugging path with red cliffs that make you stop every five minutes for photos.
- Start: Zion Canyon Visitor Center (Pa’rus Trail trailhead) or Canyon Junction.
- Surface: Paved multi-use path.
- Distance: Up to about 3.5 miles (one way) between the Visitor Center and Canyon Junction, commonly cited by Zion materials. Make it a shorter out-and-back if you want a flatter, less crowded feel.
- Grade: Mostly gentle with a few gradual sections.
- Restrooms: Most reliable near the visitor center and developed stops.
- Parking: Visitor Center parking can fill early; Springdale lots and shuttles help.
- Wheelchair and scooter notes: Wide path, but it is popular with bikes and strollers. Keep right and expect fast passers.
- Planner tip: Aim for early hours and confirm current shuttle and parking updates.
- Verify: Current official mileage and endpoints, any construction detours, and shuttle rules for mobility devices if you are connecting by bus.
3) Rim Trail (South Rim Village, Grand Canyon, Arizona)
The Grand Canyon is one of those places that makes everyone quiet for a minute. The South Rim has multiple paved, rim-side routes near Grand Canyon Village with frequent viewpoints, benches, and services.
- Start: Mather Point and the Visitor Center area (paved access to Rim Trail).
- Surface: Mostly paved along key village segments.
- Distance: Flexible. A very common, low-stress segment is Mather Point to Yavapai Point, but distances vary depending on which paved spur you take between overlooks. Use the official park map for your exact point-to-point mileage.
- Grade: Mostly manageable, with rolling grades and short approach ramps at overlooks.
- Restrooms: More reliable near the Visitor Center and village facilities.
- Parking: Lots near the Visitor Center, plus shuttle access to viewpoints.
- Wheelchair and scooter notes: Wind can make pushing and steering harder than you expect. Some overlooks get tight at peak times.
- Planner tip: Wind is real. Pack a layer even in warm seasons.
- Verify: Which viewpoints are best right now for step-free access, current shuttle accessibility, and the exact mileage between named points on today’s open paved route.
4) Sugarlands Valley Nature Trail (Great Smoky Mountains, Tennessee)
For that misty, storybook forest feeling, Sugarlands is a popular, close-to-the-visitor-center way to get Smokies scenery without a rugged commitment. This trail is generally paved, but roots, debris, or wear can change how it rolls in practice.
- Start: Sugarlands Visitor Center (trailhead nearby).
- Surface: Generally paved. Check current conditions for cracks, leaf buildup, and any rough patches.
- Distance: About 0.5 miles (loop).
- Grade: Generally gentle, with some mild rolling sections.
- Restrooms: Visitor Center is your best bet.
- Parking: Visitor Center lots, arrive early in peak season.
- Wheelchair and scooter notes: Shaded and popular. Expect families and slower moving groups, especially mid-day.
- Planner tip: Pair it with a scenic drive and a visitor center stop for a low-stress day.
- Verify: Current surface condition and whether any sections are under maintenance.
5) Trail of Time (Grand Canyon South Rim, Arizona)
This is part geology lesson, part rim stroll, and it is done in a way that feels fun instead of classroom. Outdoor exhibits and rock samples line a paved route between viewpoints.
- Start: Verkamp’s Visitor Center area to Yavapai Geology Museum area (signed Trail of Time).
- Surface: Paved.
- Distance: About 2.8 miles (one way) end to end, with easy “do-a-section” options.
- Grade: Mostly gentle with some rolling grades.
- Restrooms: Available in village areas, verify closest to your chosen segment.
- Parking: Village parking and shuttle options.
- Wheelchair and scooter notes: Great for pacing because exhibits create natural “pause points.” Crowds spike near village hubs.
- Planner tip: Great for mixed ages because the exhibits break up the distance.
- Verify: Endpoints and any construction near rim facilities that might break continuity.
6) Kīlauea overlooks (Hawai‘i Volcanoes National Park, Hawai‘i)
This park feels like visiting another planet. Many backcountry trails are rugged, but the developed areas around Kīlauea have big volcanic views with step-free access when conditions cooperate.
- Start: Kīlauea Overlook area (follow park signs for the overlook parking area).
- Surface: Paved paths and overlook areas near developed sites.
- Distance: About 0.1 to 0.3 miles (out-and-back) for a typical “park, view, and roll a bit” visit at Kīlauea Overlook, depending on where you park and which paved connector is open.
- Grade: Can include ramps and noticeable grades in spots.
- Restrooms: Most reliable near developed facilities, confirm open hours.
- Parking: Developed lots near overlooks, verify accessible spaces.
- Wheelchair and scooter notes: Exposure is real here. Sun, wind, and volcanic air quality can change fast.
- Planner tip: Treat this as an “overlook first” stop, then add more only if the terrain feels comfortable.
- Verify: Current alerts for closures and air quality, and which exact overlooks have step-free access right now.
7) Bluebell Mesa and meadow views (Chautauqua Park, Boulder, Colorado)
Boulder’s Flatirons are iconic. You do not have to take on steep, rocky routes to get that wow factor. The most reliable accessible experience here is to stay near the trailhead and meadow viewpoints.
- Start: Chautauqua Park trailhead area.
- Surface: Packed surfaces and some paved connectors near the developed area. Conditions vary seasonally.
- Distance: A dependable, simple plan is a 0.5 to 1.0 mile (out-and-back) roll on the flatter approach areas toward Bluebell Mesa and the main meadow viewpoints, turning around when the surface gets rutted or the grade picks up.
- Grade: Generally gentler near the meadow and trailhead, steeper as you move toward classic hiking routes.
- Restrooms: Developed area facilities can be available, verify accessibility and hours.
- Parking: Fills fast; accessible spaces exist but go early.
- Wheelchair and scooter notes: After rain or snowmelt, packed paths can rut or soften. Weekends can feel tight with foot traffic.
- Planner tip: If you want low-stress, plan this for a weekday morning and treat it as a scenic roll plus picnic.
- Verify: Which routes are currently recommended as the smoothest, plus muddy or rutted conditions after recent weather.
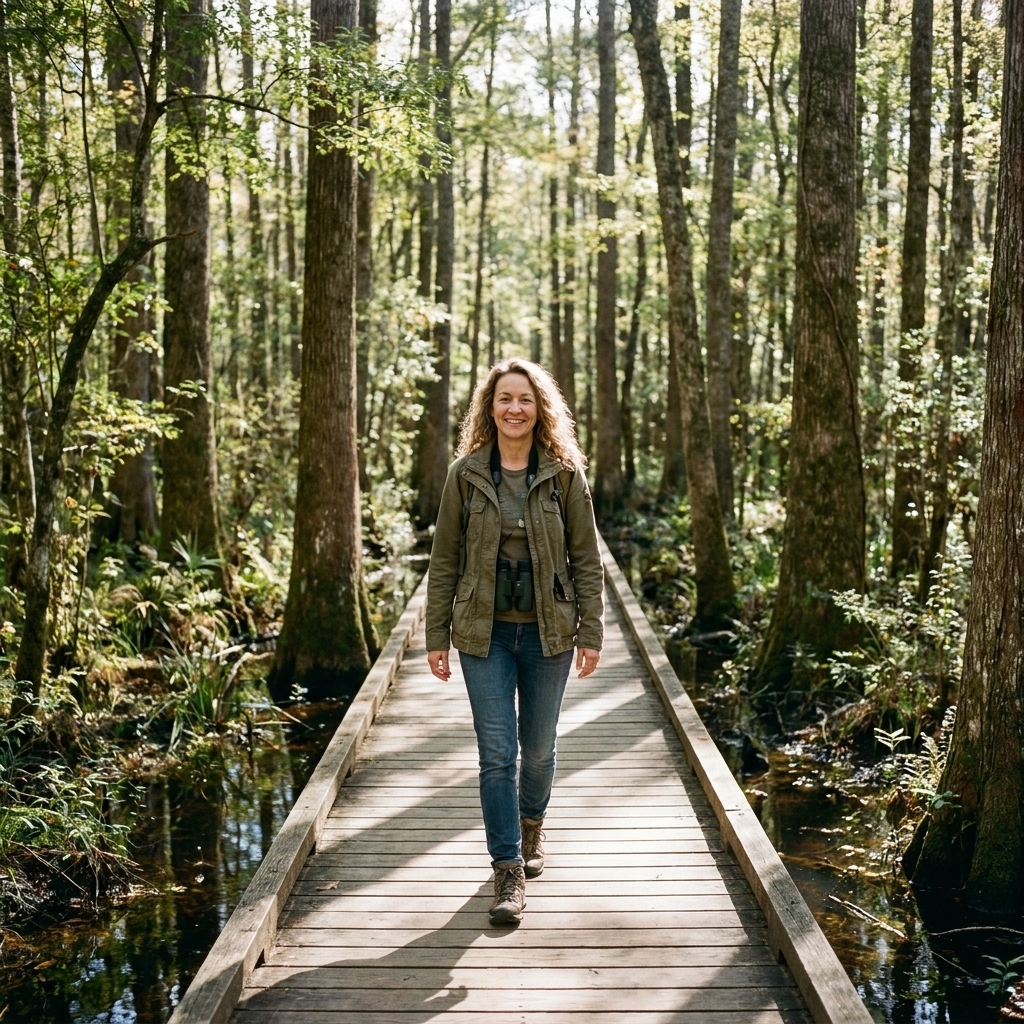
8) Boardwalk Loop Trail (Congaree National Park, South Carolina)
Congaree is a dreamy floodplain forest with a boardwalk that lets you glide right through the ecosystem. It is one of the best “feel immersed” parks for accessibility.
- Start: Near the visitor center and main trailheads.
- Surface: Boardwalk.
- Distance: About 2.4 miles (loop). You can also do a shorter out-and-back on the first section.
- Grade: Generally flat.
- Restrooms: Visitor center facilities are the most dependable.
- Parking: Main lots near visitor facilities.
- Wheelchair and scooter notes: Boardwalk is generally smooth, but can be slick when wet. Flooding can trigger closures.
- Planner tip: Bring water and prepare for humidity. Bugs can be intense.
- Verify: Boardwalk status after flooding and any detours.
9) South Falls day-use viewpoint paths (Silver Falls State Park, Oregon)
Silver Falls is famous for waterfalls you can walk behind, but not all routes are wheelchair-friendly. The easiest way to get waterfall magic is to focus on the South Falls Day-Use Area and the developed viewpoint paths.
- Start: South Falls Day-Use Area.
- Surface: Developed paths that are typically paved in the day-use zone, with some grades as you approach viewpoints.
- Distance: About 0.3 to 0.6 miles (out-and-back) for a viewpoint-focused visit from the day-use area, depending on which spur is open and where you park.
- Grade: This park is hilly. Expect noticeable slopes on some approaches.
- Restrooms: Typically available in day-use areas, confirm accessible restroom status.
- Parking: Day-use parking close to facilities, verify accessible spaces.
- Wheelchair and scooter notes: Spray can make pavement slick near the falls. Crowds can bottleneck at railings.
- Planner tip: If you want one great view with minimal climbing, confirm the accessible viewpoint route first and commit to that.
- Verify: The park map for the current accessible route to South Falls viewpoints and any closures.
10) Lakefront Trail (Chicago, Illinois)
Not every nature day has to be deep wilderness. Chicago’s lakefront is a fantastic accessible outdoor “choose your own adventure” with skyline views, beaches, parks, and plenty of easy places to stop.
- Start: Pick a hub like Navy Pier, Oak Street Beach, or a major park access point.
- Surface: Wide, paved multi-use path.
- Distance: The Lakefront Trail is commonly listed at about 18 miles total end to end (not one way and back). Most people build a 1 to 6 mile (round-trip) segment from a chosen hub.
- Grade: Mostly flat.
- Restrooms: Most reliable near major beaches, parks, and in peak season. Do not assume off-season availability.
- Parking: Varies by neighborhood; plan a specific accessible parking target or use transit.
- Wheelchair and scooter notes: Fast bike traffic is common. Choose calmer stretches or earlier hours if you prefer more space.
- Planner tip: Weekday mornings feel calmer, especially in summer.
- Verify: Seasonal restroom hours, any path detours for events or construction, and current distance guidance from the managing agency.
11) Golden Gate Park main routes (San Francisco, California)
Golden Gate Park is basically a full outdoor itinerary in one place: gardens, lakes, museums, and wide paths that make it easy to plan a half-day or full-day outing once you are there.
- Start: Choose one zone like the Conservatory of Flowers area or the Music Concourse.
- Surface: Many paved paths, plus some packed surfaces.
- Distance: Flexible. A comfortable “see a lot, keep it manageable” loop is often 1 to 3 miles (total) if you stick to the widest main routes between major stops.
- Grade: Generally manageable, with some gentle hills depending on your route.
- Restrooms: More available near major attractions, confirm accessibility and hours.
- Parking: Street and lot parking varies; weekends can be competitive.
- Wheelchair and scooter notes: Fog and dampness can make some surfaces feel slick. Crowds cluster near museums and gardens.
- Planner tip: Fog and wind happen. Pack a warm layer even if it looks sunny.
- Verify: Step-free entrances for specific gardens and any temporary closures.
12) Mission Reach (San Antonio River Walk, Texas)
Yes, it is a city attraction. It is also one of my favorite “outside all day” options because you can combine smooth rolling paths with shade, water views, and easy access to breaks.
- Start: Mission Reach trailheads and access points south of downtown.
- Surface: Paved pathways.
- Distance: About 8 miles (one way) end to end for Mission Reach, commonly described that way in local materials. Many visitors choose a 1 to 4 mile (round-trip) segment from a trailhead.
- Grade: Generally gentle.
- Restrooms: More predictable near major access points and visitor areas; plan your stops.
- Parking: Multiple lots and street parking options at trailheads.
- Wheelchair and scooter notes: Sun exposure varies. Some stretches are shadier than others, so plan for heat.
- Planner tip: Go earlier to avoid peak heat and peak crowds.
- Verify: Exact restroom locations along your chosen segment and any trail closures due to high water or maintenance.
13) The High Line (New York City, New York)
When you want greenery, skyline views, and a built-in people-watching show, the High Line delivers. It is an elevated linear park with step-free entry via elevators, plus plenty of spots to pause.

- Start: Choose an entrance with an elevator near your itinerary (Chelsea Market area, Hudson Yards, and other access points).
- Surface: Smooth, accessible paths.
- Distance: About 1.5 miles (one way) end to end.
- Grade: Mostly flat once you are on the High Line.
- Restrooms: Limited, so plan a bathroom stop before you go up.
- Parking: Street parking is tough; transit and accessible drop-off plans help.
- Wheelchair and scooter notes: Crowds can be dense and slow-moving, especially weekends. Passing space varies by section.
- Planner tip: Weekday mornings are easiest for space and photos.
- Verify: Elevator status on the official High Line site because outages happen.
14) Bridger Bay and Fielding Garr Ranch stops (Antelope Island, Utah)
Antelope Island feels wide open in the best way. Many trails are natural surface, but you can still build an unforgettable accessible day around scenic drives, developed areas, and close-to-parking viewpoints.
- Start: Bridger Bay day-use area, then add Fielding Garr Ranch as a second stop if surfaces look good.
- Surface: Paved roads plus developed walkways at select sites; some packed dirt around historic areas.
- Distance: For a reliable, step-free roll, plan about 0.2 to 0.6 miles (total) around the Bridger Bay developed area and viewpoints, then keep Fielding Garr Ranch as an optional add-on with short, packed-surface wandering near parking.
- Grade: Varies by stop; stick to the flattest developed areas.
- Restrooms: Limited and can be seasonal; confirm before committing.
- Parking: Scenic pullouts and developed lots, verify accessible spaces.
- Wheelchair and scooter notes: Wind, heat, and bugs can be intense. Wildlife viewing is excellent, but give bison a very wide buffer.
- Planner tip: Wildlife is the headline here, but keep your distance, especially from bison.
- Verify: Water availability, bug levels, and which stops currently have the most reliable step-free paths and open restrooms.
15) National Mall and Tidal Basin (Washington, DC)
This is my go-to recommendation for an accessible outdoor day that still feels grand and scenic. Between monuments, water views, and smooth routes, you can build a loop that fits your pace.
- Start: Pick one anchor monument, then roll outward.
- Surface: Broad paved paths and sidewalks with curb cuts.
- Distance: A Tidal Basin loop is often described as about 2 miles (loop), but the exact number can shift with detours and which memorial spurs you include.
- Grade: Mostly gentle, with occasional ramps and crowds.
- Restrooms: Available at some memorials and museums, but do not assume every stop has one.
- Parking: Limited; Metro and accessible drop-offs can be easier than driving.
- Wheelchair and scooter notes: Crowds and temporary fencing can create pinch points. Expect bumpy patches where paths meet older sidewalks.
- Planner tip: Cherry blossom season is gorgeous and crowded. If you want space, go at sunrise.
- Verify: Temporary fencing, event setups, detours, and restroom closures.
Itinerary ideas
A one-hour wow
- Pick one short boardwalk or rim viewpoint route.
- Arrive early, do one reliable segment.
- Finish with a snack stop near the visitor center or a picnic table.
A half-day reset
- Start with the most popular accessible trail first.
- Build in a long break halfway, not at the end.
- Add a scenic drive or garden roll as your “dessert” activity.
A full-day plan
- Choose a place with multiple accessible nodes, like an urban park, a riverwalk, or a national park village area.
- Split the day into short segments so nobody feels rushed.
- Plan two restroom stops on purpose, even if you think you will not need them.
What to pack
- Sun and heat gear: hat, sunscreen, cooling towel, refillable water bottle
- Comfort add-ons: light gloves for pushing, small cushion if you prefer it, rain layer
- Trail basics: wipes, hand sanitizer, a small trash bag, backup phone battery
- Snack strategy: something salty, something sweet, plus a protein option
If you use a power chair or scooter, bring a simple battery plan. Know your realistic range, and identify the nearest visitor center or lodge where you can pause and recharge if needed.
FAQ
Are these stops fully ADA compliant?
Many are designed to be accessible and include ADA features like paved or boardwalk surfaces and accessible facilities, but exact compliance can vary by segment and can change with maintenance. If you have a must-have requirement, check the destination’s official “Accessibility” page and current alerts, or call the visitor center before you go.
Do I need an all-terrain wheelchair?
For the stops listed here, most visitors do well with standard wheelchairs or mobility scooters on paved paths and boardwalks. If you are expanding into compacted gravel or natural-surface routes, an all-terrain chair can open up more options.
What time of day is easiest?
Go early. In major parks and iconic city attractions, the first hour after opening, or sunrise in open-access areas, is typically the calmest, coolest, and easiest for parking.
Any safety notes I should not skip?
Yes. Plan for heat and humidity in places like the Everglades and Congaree, altitude and sun exposure at the Grand Canyon and Boulder area, and wildlife distance at Antelope Island. Also, assume boardwalks can be slick when wet and slow your pace accordingly.
My favorite way to plan an accessible outdoor day is to pick one guaranteed-easy anchor stop, then add optional stops based on energy. You can always do more. You cannot undo a too-ambitious start.
If you tell me your city or the region you are traveling to, plus your mobility needs and your ideal distance range, I can suggest a realistic day plan with low-stress parking and bathroom strategies.