I love a big adventure, but some days call for something easier: fresh air, pretty views, and a plan that does not require heroic stamina or surprise obstacles. The good news is that many larger, visitor-ready nature attractions are built with smooth routes, frequent benches, and accessible restrooms and parking. Others are trying, but can still be a mixed bag. The trick is knowing what to look for before you go.
This guide breaks down the most reliably wheelchair-friendly types of outdoor attractions, what makes each one low-stress, and exactly what to check so you can pick a spot that matches your energy level and your wheels.
What makes a place wheelchair-friendly
Accessibility can mean different things at different parks, so I like to think in terms of comfort checkpoints. When an attraction hits most of these, it is usually an easy win.
- Continuous, stable surfaces: Look for paved paths, boardwalks, resin-bound gravel, or tightly packed decomposed granite. Be cautious with anything labeled “natural surface” unless you have confirmed it is firm and smooth.
- Manageable grades: Gentle slopes are fine. Long, steep hills are what turn a pleasant stroll into exhausting effort. If a place shares numbers, ADA ramp guidance is often 1:12 (about 8.33%) for ramps, but outdoor paths and trails are not always built to that exact standard. Use it as context, not a promise.
- Cross-slope that does not fight you: A path that tilts sideways (camber) can be more tiring than a mild uphill. If reviews mention “leaning,” “pulling,” or “hard on wrists,” take that seriously.
- Enough width and passing space: Wide paths and pull-offs matter, especially for scooters and power chairs that need more turning room.
- Rest breaks built in: Benches, shaded spots, and places to pull off the main path make a huge difference.
- Accessible restrooms (and they are open): Ideally near the entrance and again deeper inside large gardens or preserves. Seasonal closures are common, so check hours.
- Parking and drop-off that are actually close: The best accessible spot is useless if it is a long roll to the start of the paved path.
Quick pre-trip checklist: On the attraction’s website, look for an accessibility page, a downloadable map that shows grades, and notes about path surfaces. If you call, ask two simple questions: “Are the main routes paved or boardwalk the whole way?” and “Are there any steep sections, narrow gates, or rough transitions we should plan around?”
One more real-life factor: “Easy” can change depending on your device. Manual chairs often care most about slope, distance, and texture. Power chairs and scooters may care more about turning space, pinch points, lip transitions, and battery range. If you know your usual dealbreakers, use them as your filter.
Best wheelchair-friendly attraction types
These are my go-to categories when I want a calm, predictable outing. Within each one, I included what to expect plus the details that make or break the day.
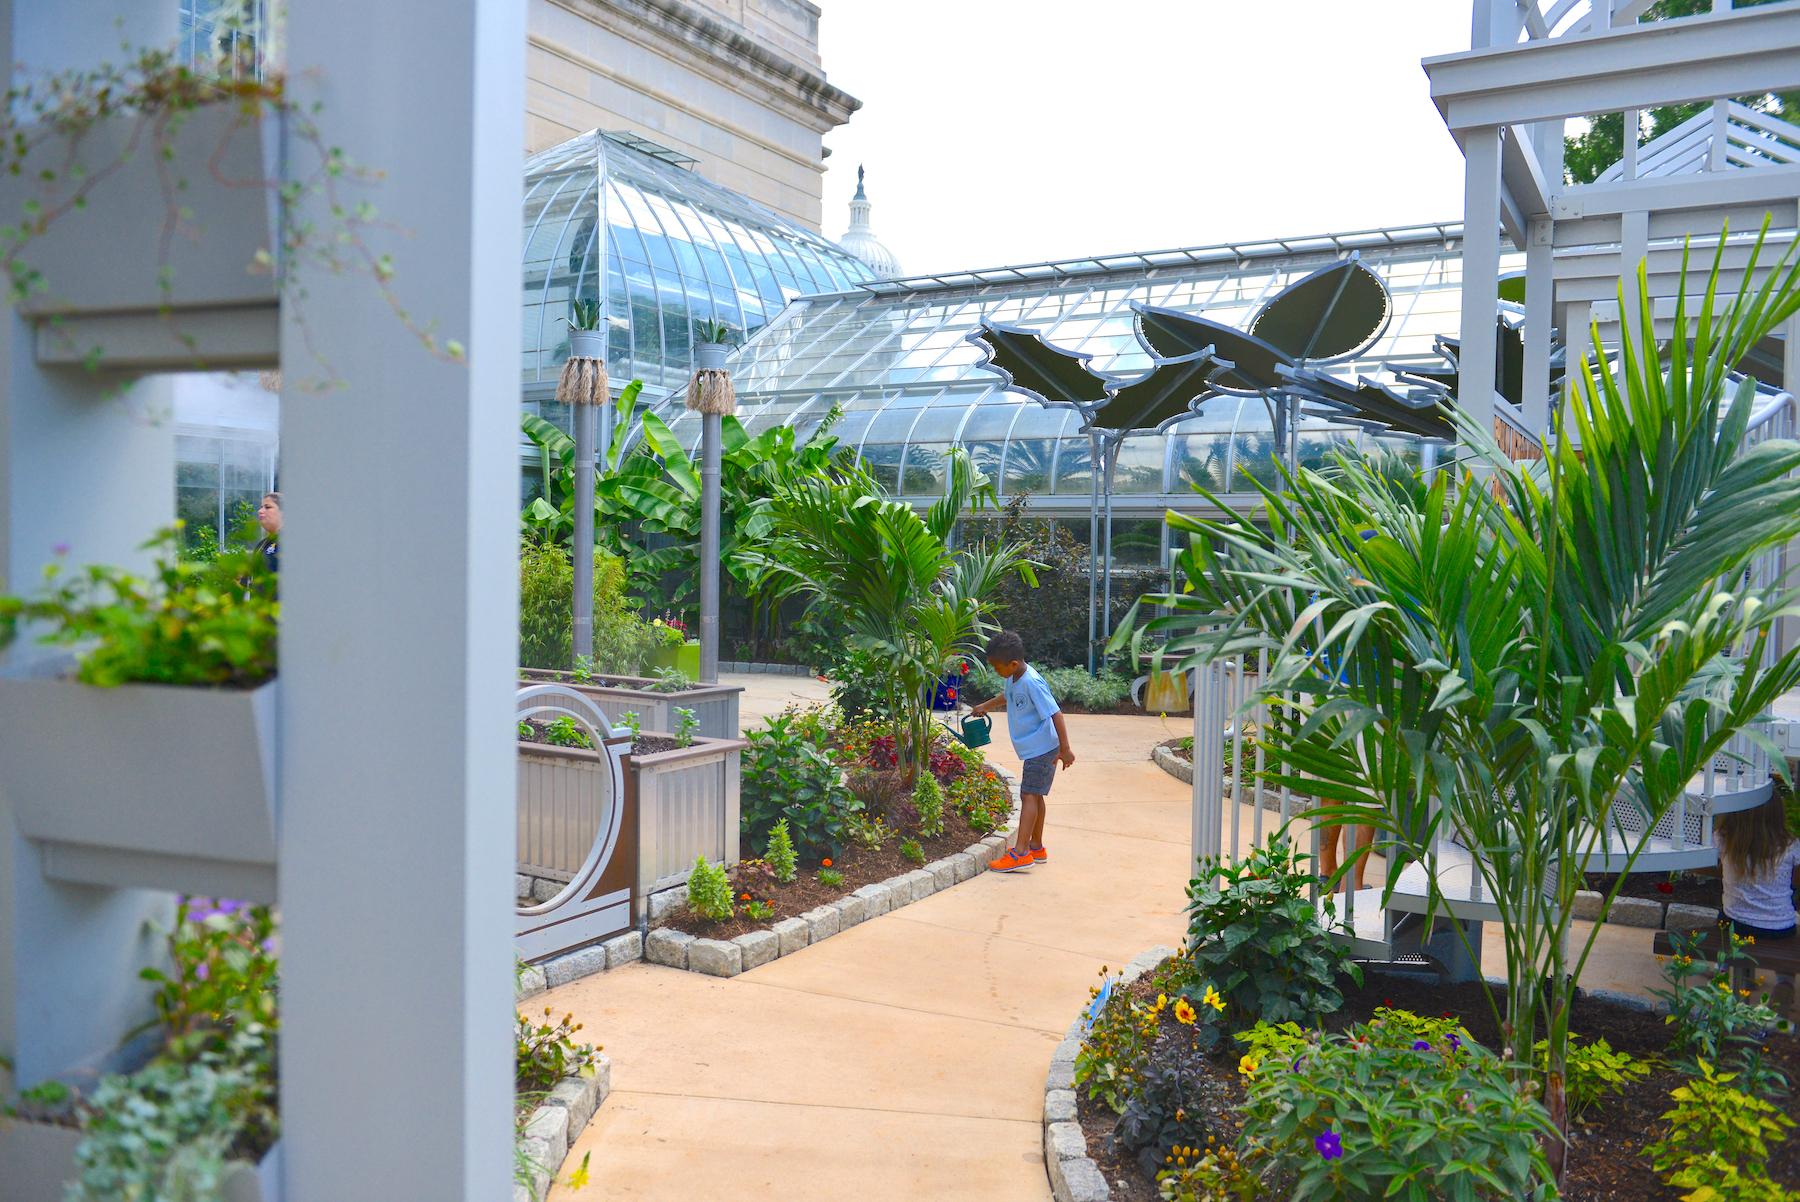
1) Botanical gardens
Botanical gardens are often a consistently accessible outdoor choice because they are built for strolling, with lots of route options and amenities. Still, it is worth checking, especially for older or historic gardens where grades, stairs, or gravel sections can surprise you.
- Terrain: Usually paved main loops, sometimes with optional side paths that are gravel or dirt. Stick to the main loop for the smoothest experience.
- Restrooms: Often strong, typically near the entrance and visitor center.
- Parking: Designated accessible parking is common. Many gardens also have a drop-off circle for easy unloading.
- Pace: Easy to customize. You can do 30 minutes or linger for three hours.
Low-stress tip: Aim for weekday mornings. Gardens are quieter, parking is easier, and you will not feel rushed when you stop for photos or snacks.
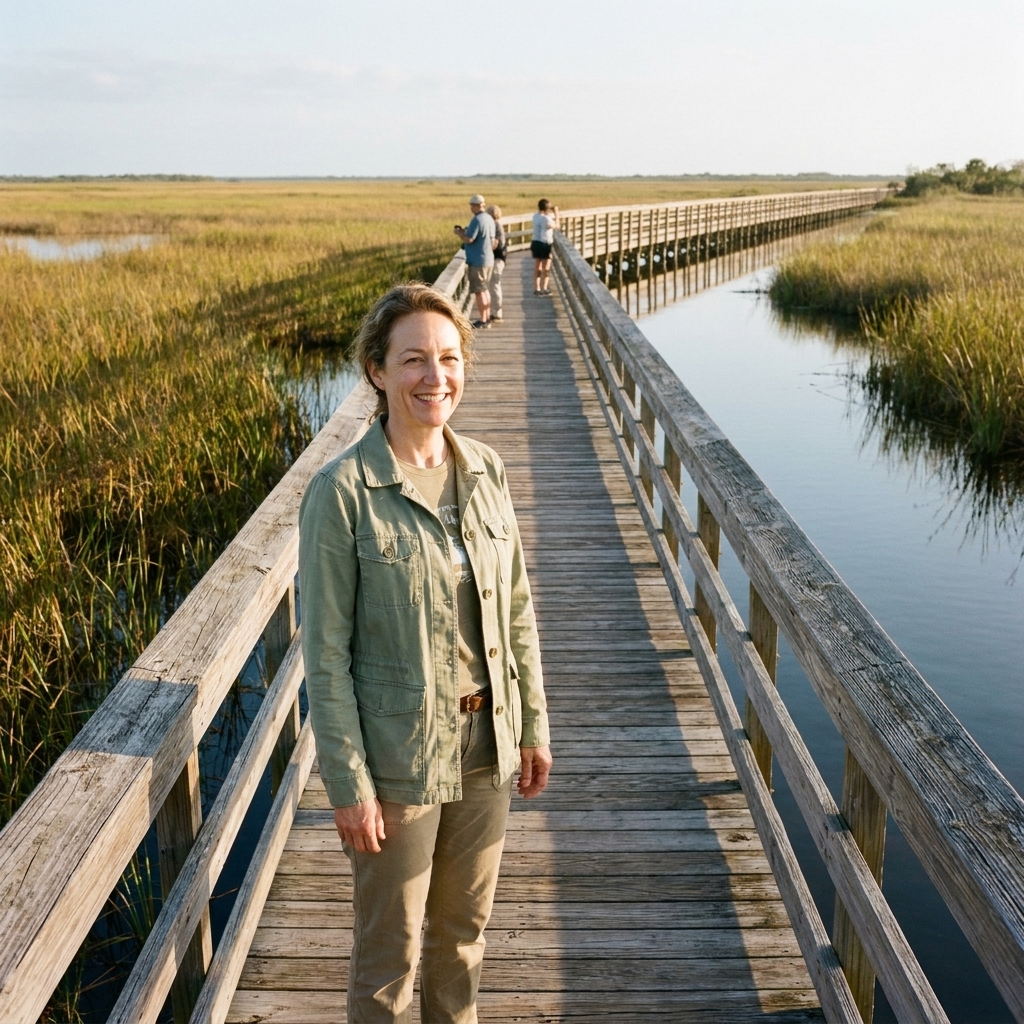
2) Boardwalk trails
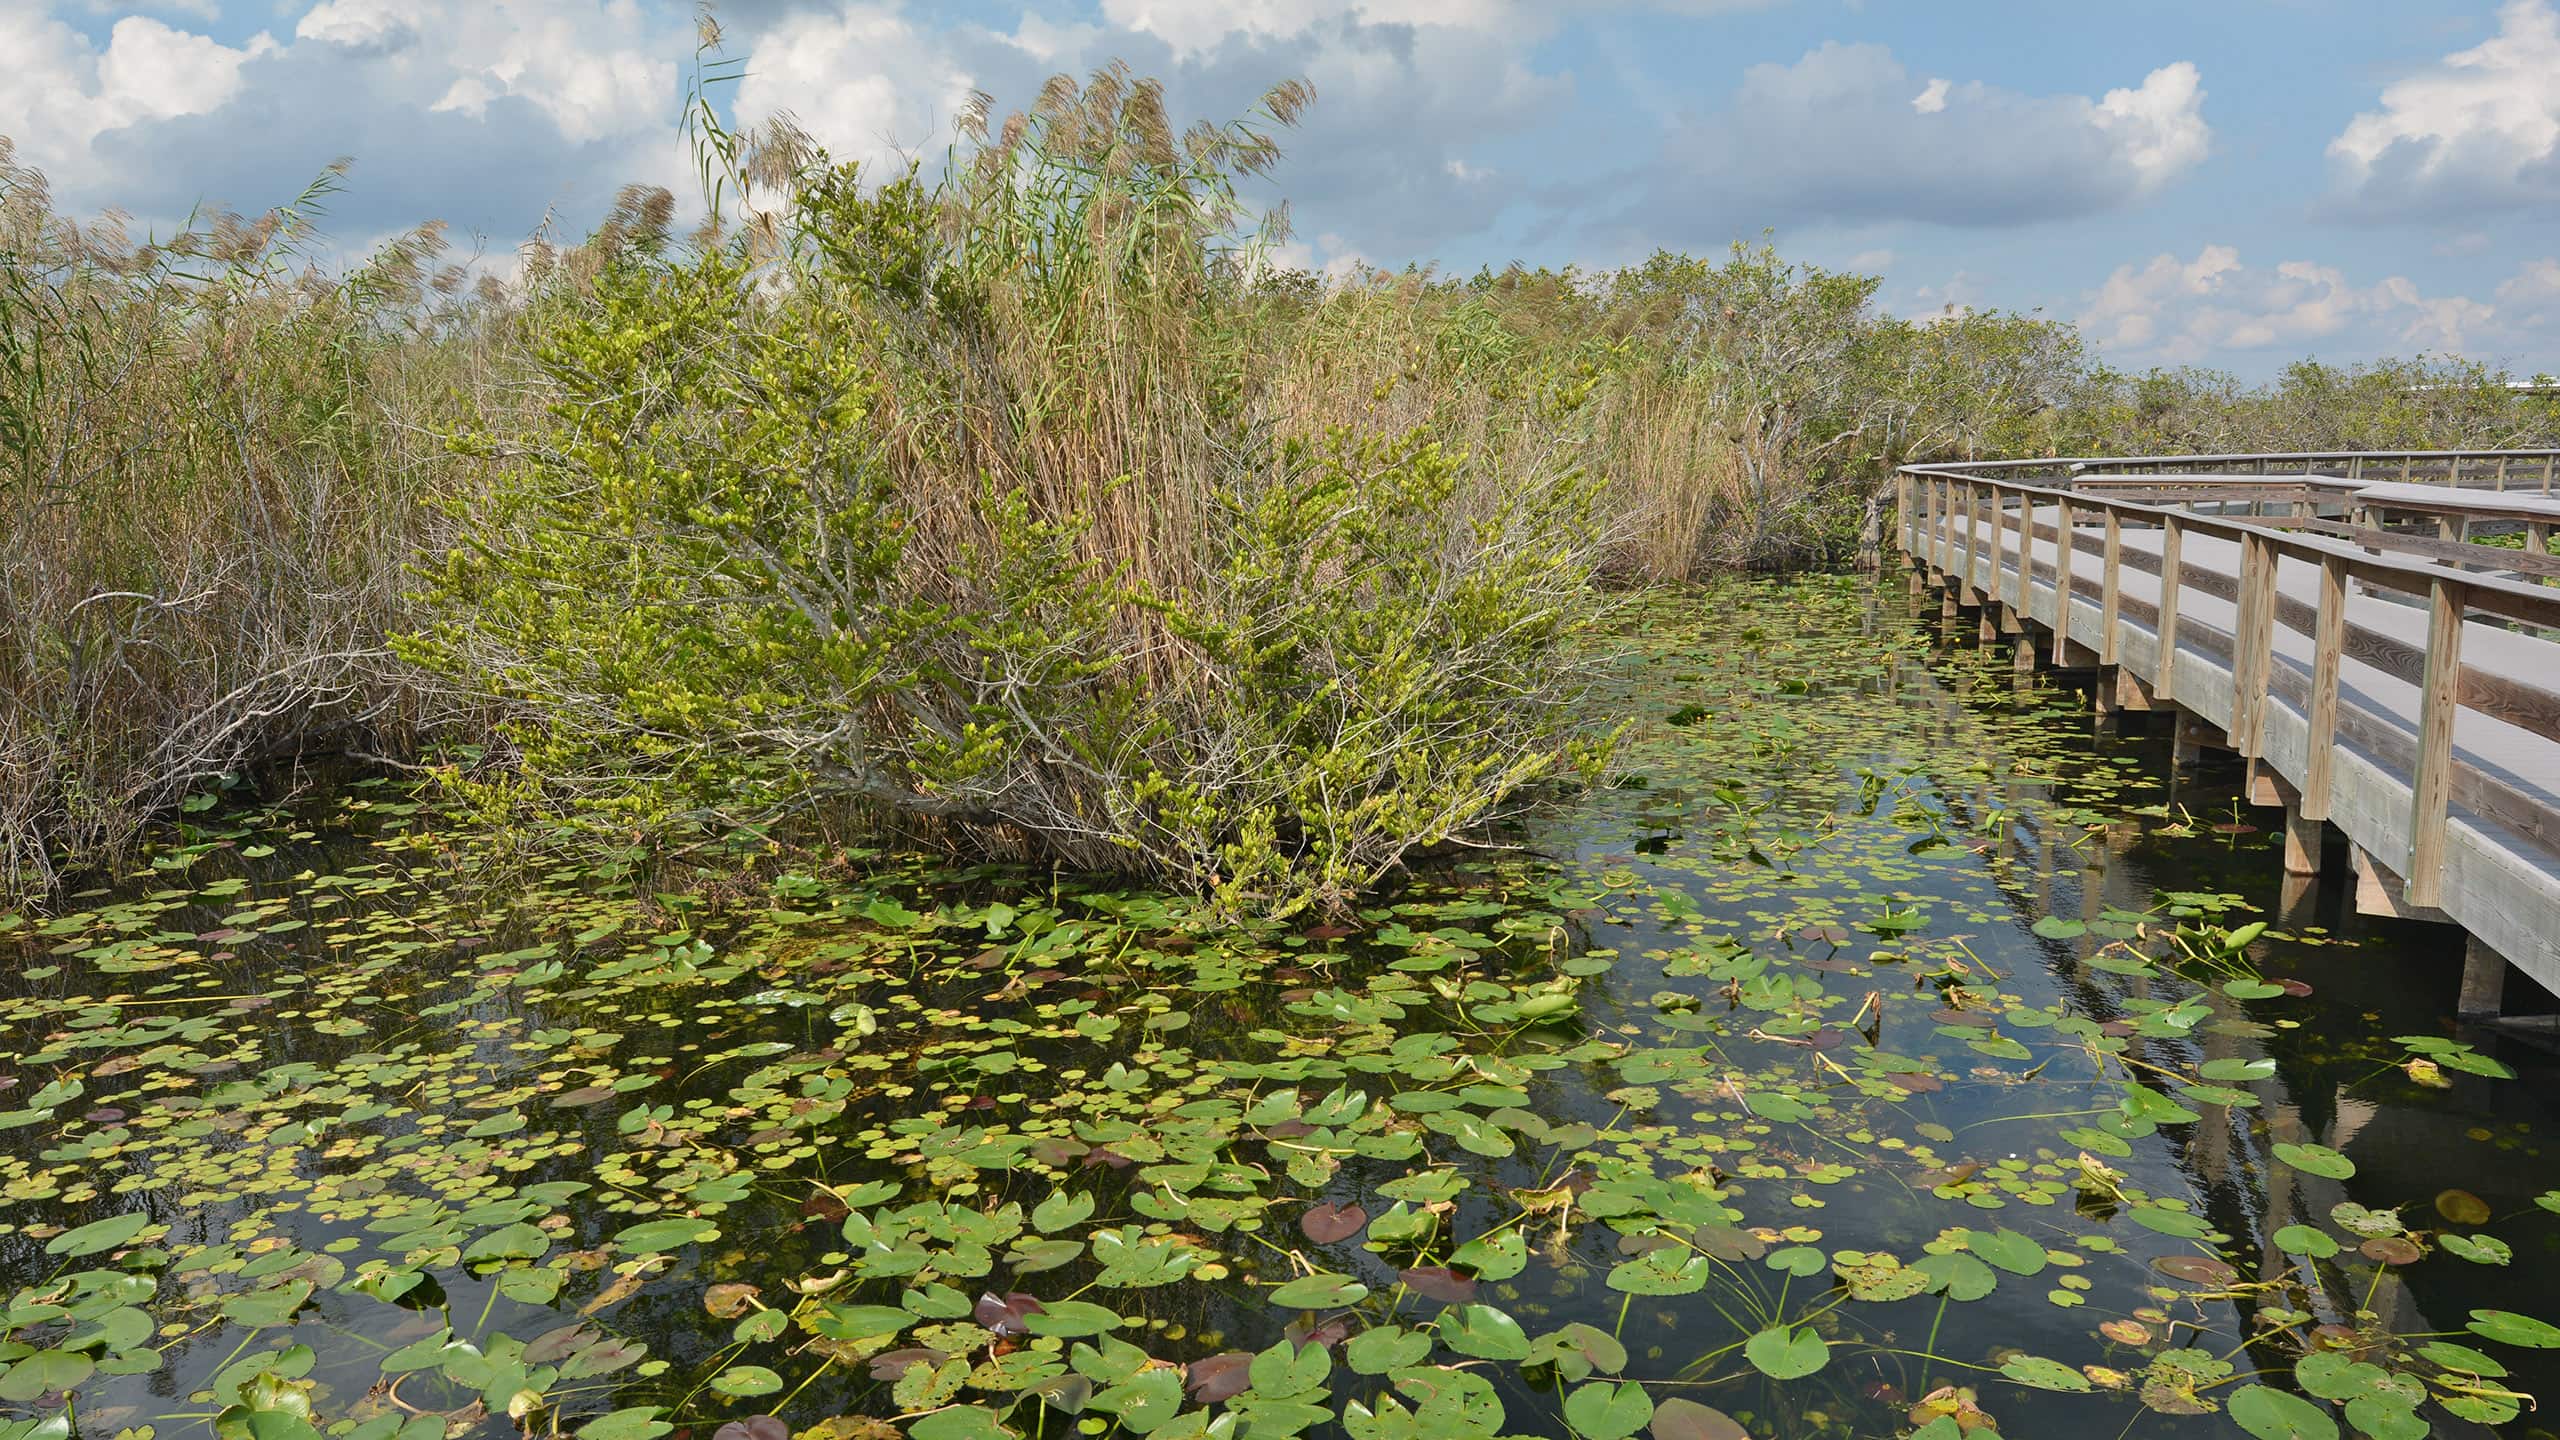
If you want that “in the middle of nature” feeling without worrying about mud, roots, or sand, boardwalks can be a great friend. Many are flat and direct, but it is smart to confirm a few details because older boardwalks can have pinch points, steeper ramp approaches, or slatted surfaces that feel bumpy.
- Terrain: Wooden or composite boardwalk, typically stable and smooth. Watch for gaps, rough transitions, and any lip at the entrance.
- Restrooms: Sometimes limited to the trailhead. Plan a restroom stop before you head out.
- Parking: Often close to the entrance, though some preserves have longer approaches from the lot.
- Pace: Great for a simple out-and-back. You can turn around whenever you are ready.
Low-stress tip: Bring a lightweight layer. Boardwalks over water can feel cooler and breezier than the parking lot.
What to ask: “How wide is the narrowest section?” and “Are there any gates, bollards, or cattle guards on the route?” Those small obstacles are the ones that tend to ruin an otherwise perfect boardwalk plan.
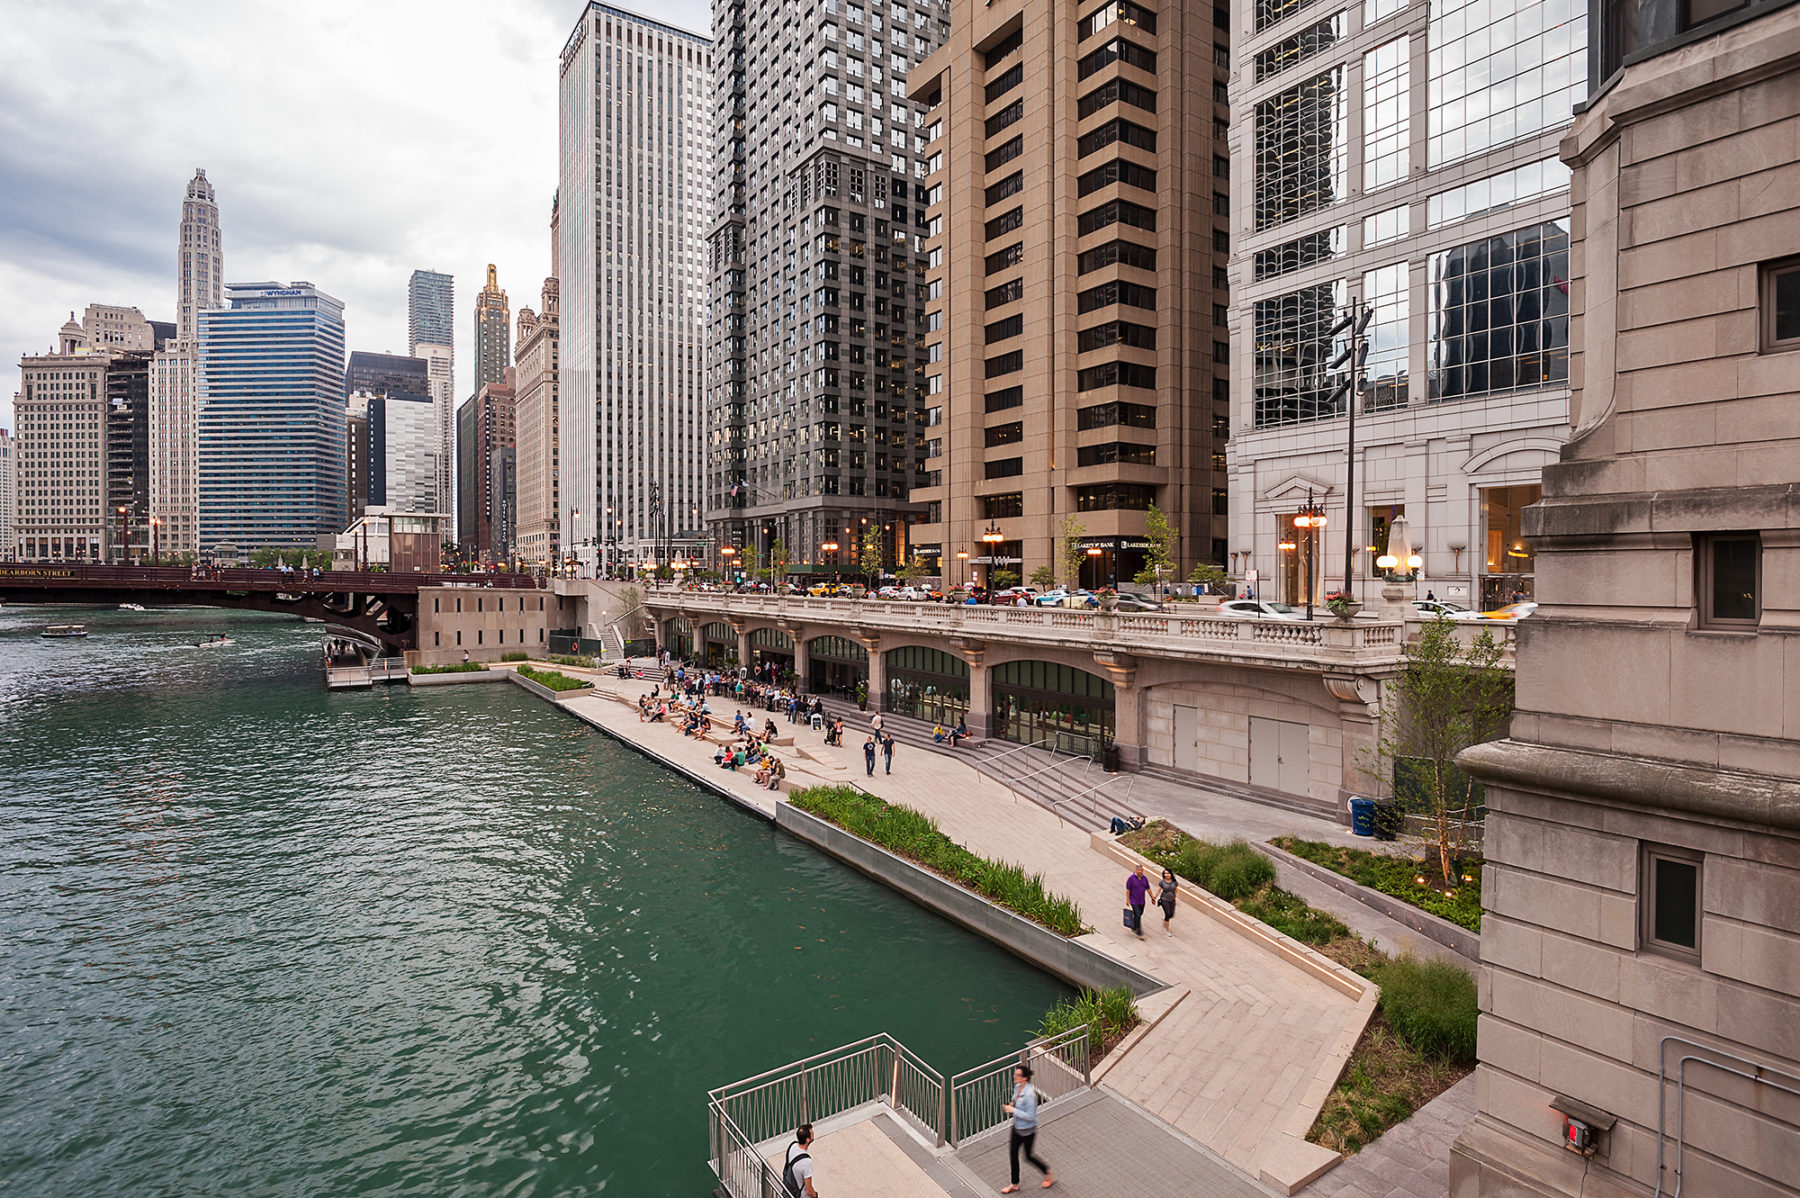
3) Riverwalks and promenades
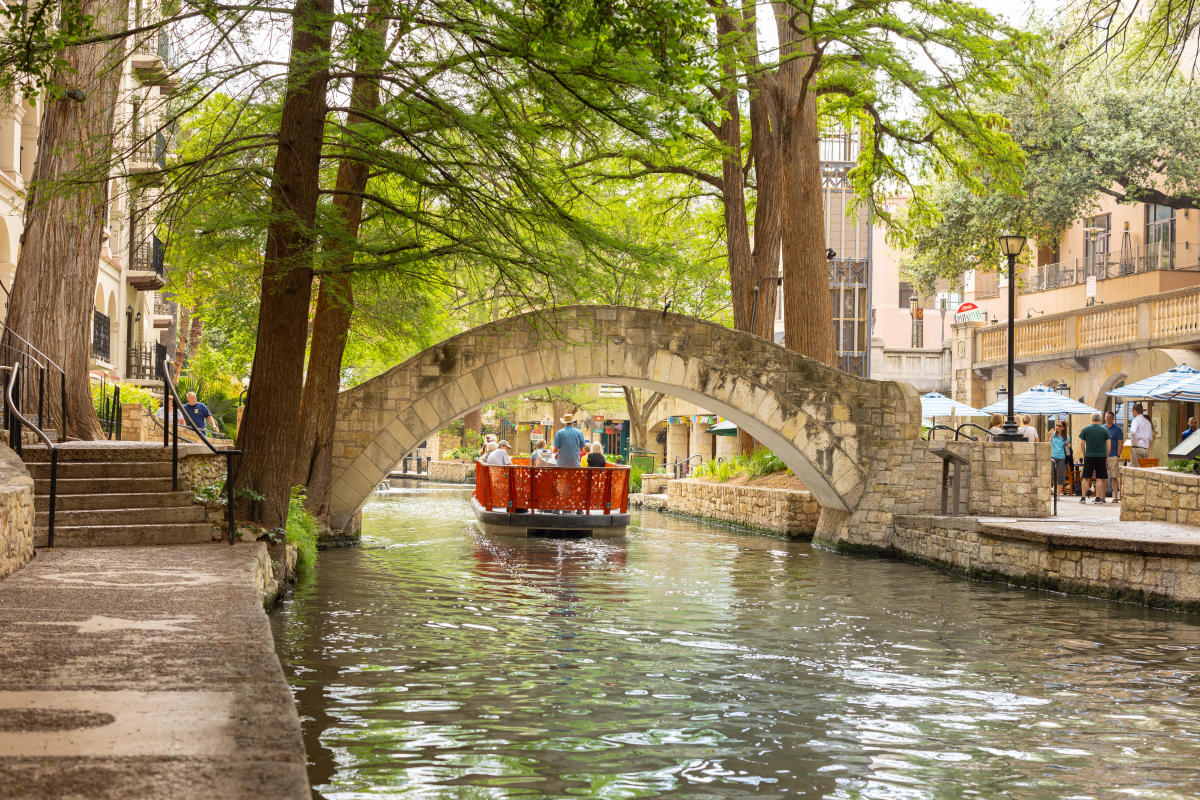
Waterfront paths are underrated for nature time. You still get birds, breezes, and big skies, plus reliable pavement, nearby restrooms, and plenty of places to grab a drink.
- Terrain: Mostly smooth concrete or asphalt. Look out for crowded pinch points and occasional slopes near bridges.
- Restrooms: Often available in public parks, marinas, or nearby cafes. Confirm hours, especially in off-season.
- Parking: Varies widely. Choose a section with a dedicated lot rather than street parking if you want fewer variables.
- Pace: Very flexible. Perfect for a short roll with a long sit on a bench watching the water.
Low-stress tip: Choose a “destination bench.” Pick a scenic spot on the map, roll to it, take your time, and treat anything beyond that as bonus.
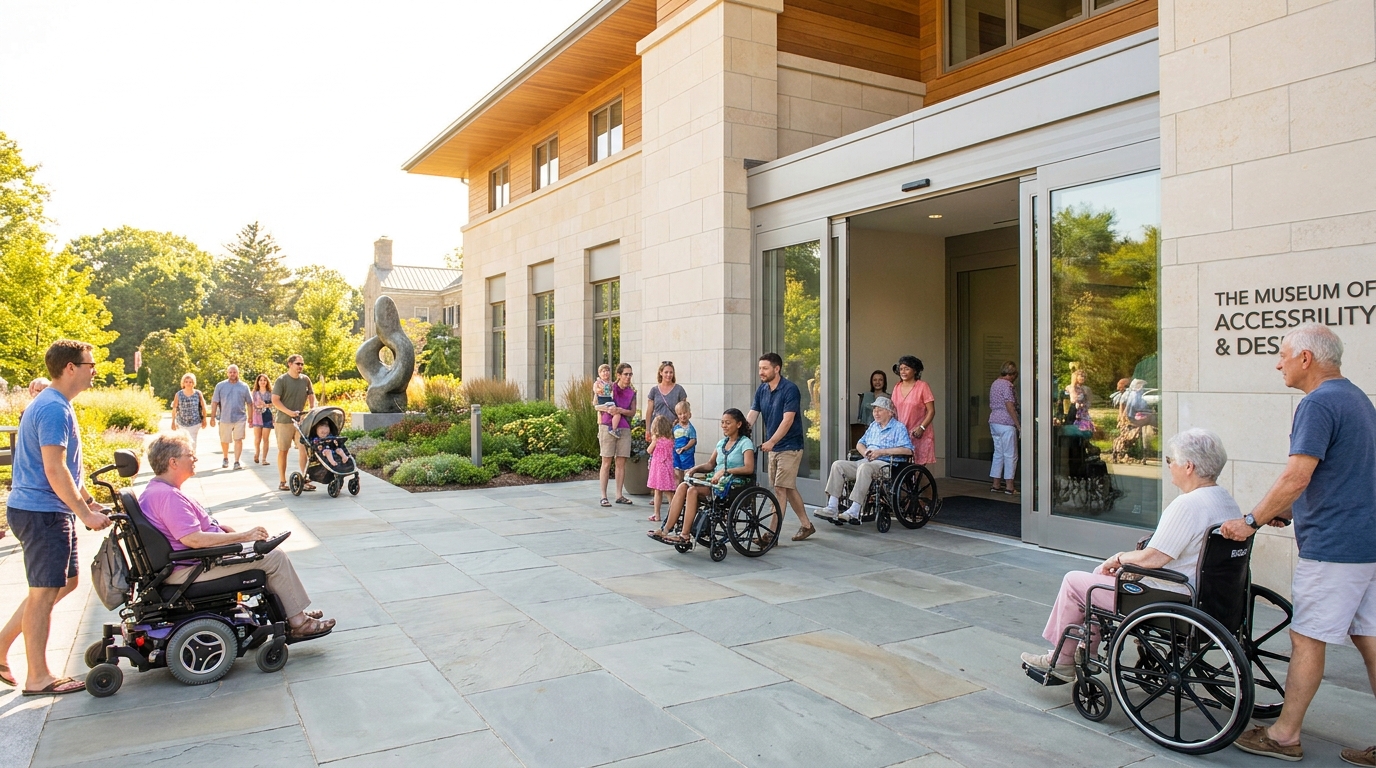
4) Sculpture parks
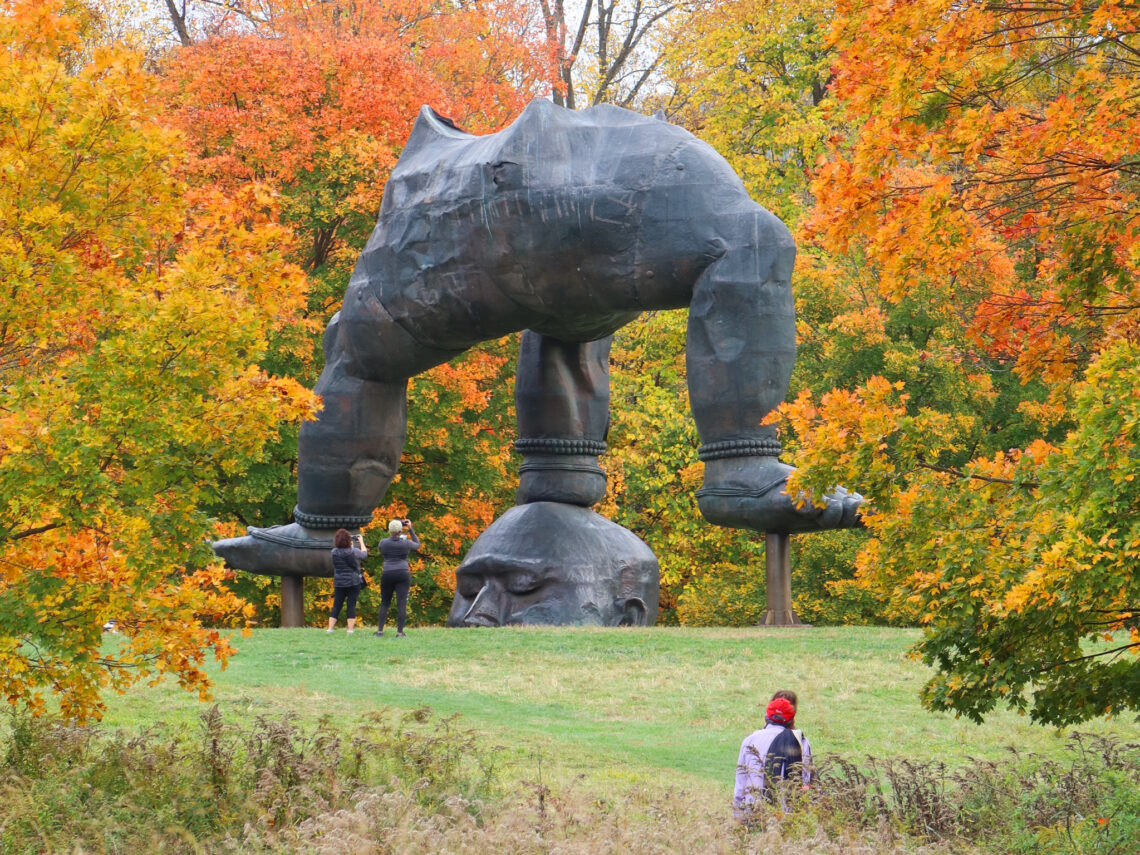
Sculpture parks feel like a museum and a nature walk in one, and the best ones are designed with broad, firm paths to handle strollers, wheelchairs, and big weekend crowds.
- Terrain: Often paved, packed gravel, or smooth hardscape between installations. Confirm the main loop is firm throughout.
- Restrooms: Usually in a visitor center, sometimes with only one main restroom location.
- Parking: Typically straightforward, with accessible spaces near the entrance.
- Pace: Built for stop-and-go viewing. Great if you like lots of natural breaks.
Low-stress tip: Check for tram or shuttle days, or borrowing programs for wheelchairs. Some larger parks offer on-site mobility options even when paths are accessible.
5) Visitor-center preserves
Many state and regional parks have one “front-country” accessible loop near the visitor center, and it is a gem for an easy day out. You get interpretive signs, shade structures, and a clear route that is maintained more often than backcountry trails.
- Terrain: Short paved loops, sometimes with a boardwalk spur to an overlook.
- Restrooms: Most reliable at the visitor center. Confirm whether they are open daily or seasonal.
- Parking: Usually close, with marked accessible spaces.
- Pace: Great for a quick nature reset. Ideal when weather is iffy and you want an easy exit plan.
Low-stress tip: Ask rangers which loop is flattest, whether any construction has created rough detours, and whether there are gates or barriers at trail entrances.
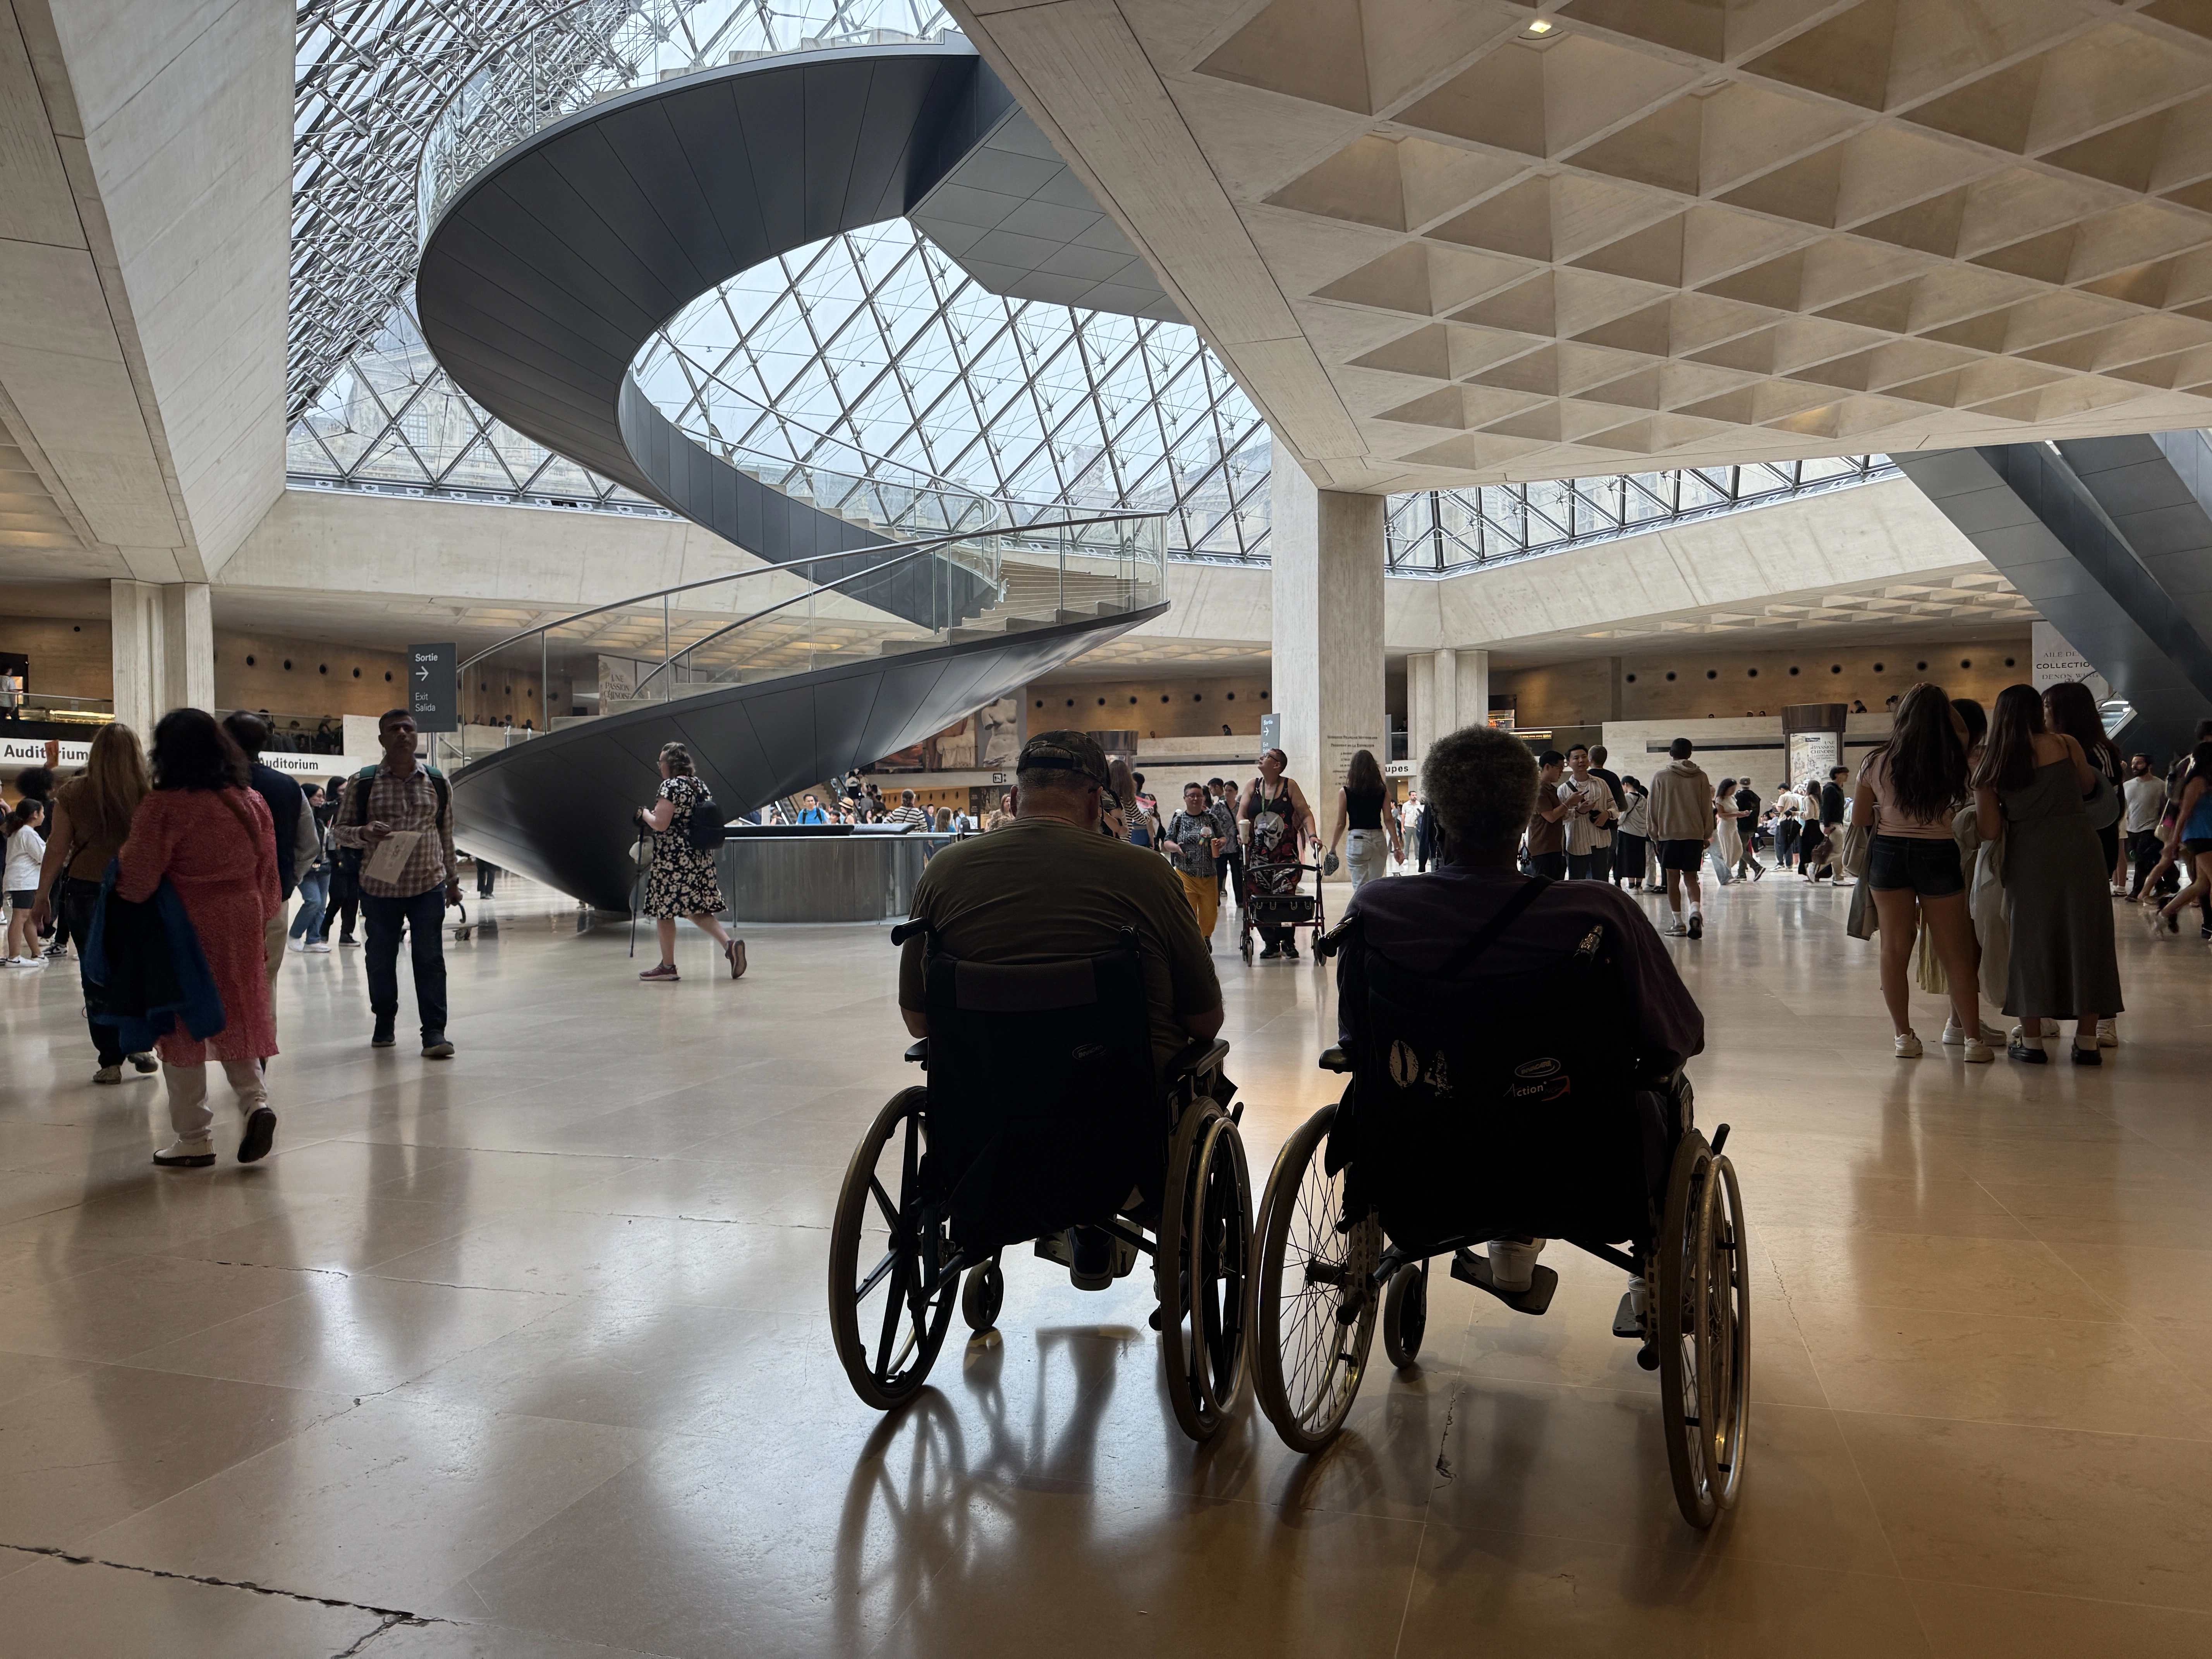
6) Arboretums and canopy walks
Arboretums often have wide paths and scenic overlooks that feel immersive without being strenuous. If there is a canopy walk, confirm elevator or ramp access and whether the structure includes any long or steep ramp stretches.
- Terrain: Typically paved or firm packed paths. Canopy walks vary from gently ramped to more cardio-forward.
- Restrooms: Usually near the main building and event spaces.
- Parking: Often good, with clear signage.
- Pace: Easy to tailor, especially if there are multiple loops of different lengths.

Pick the easiest outing
When I am planning for mixed mobility and mixed attention spans, I focus on “confidence boosters,” the features that reduce stress in real life.
- Pick places with a clear main route: A simple loop or out-and-back is easier than a maze of intersecting trails.
- Prioritize nearby amenities: Visitor centers, cafes, and gift shops are not just extras. They are climate-controlled breaks and reliable restrooms.
- Look for shade and indoor backup: Conservatories, galleries, or covered pavilions save the day during heat, wind, or surprise rain.
- Choose attractions with natural stopping points: Overlooks, viewing platforms, and art installations keep the pace comfortable.
- Think beyond the path: A beautiful overlook is only fun if you can see comfortably. Look for viewing areas with rail heights that do not block the view, scopes or displays positioned at usable heights, and picnic tables with knee clearance.
Confirm these details
Websites are getting better about this, but I still like to verify the specifics that affect comfort and safety.
- Surface type: Ask whether any part of the main route is sand, loose gravel, grass, slick decking, or uneven pavers.
- Steepest grade and any “one big hill”: You do not need a perfect number, but you do want to know if there is a section that changes the whole outing.
- Cross-slope: Ask if any sections tilt sideways noticeably, especially along waterfronts.
- Path width and tight turns: Important for scooters and power chairs, and also helpful if you are going with a group.
- Gates, bollards, and pinch points: Older gardens and some preserves have narrow gates, chicanes, or barriers that can block wider mobility devices.
- Transitions and thresholds: Boardwalk entrances, bridge plates, and little lips can be the difference between smooth and frustrating.
- Restroom locations and seasonality: How many, where they are, and whether they are open year-round.
- Distance from accessible parking to the start: This is a hidden factor that decides whether the day feels easy or feels like a trek before you even begin.
- Mobility rentals: Some attractions offer manual wheelchairs or scooters, but availability can be limited.
- Weather and maintenance: Ask about leaf debris, flooded boardwalks, snow and ice removal, or seasonal closures.
- Service animal rules: Many outdoor attractions are generally service animal friendly, but policies can vary by land manager or by sensitive wildlife areas. Confirm any restricted zones before you go.
If you only make one call, ask this: “If we stick to your most accessible route, will we be able to do the full loop without encountering stairs, loose sand, narrow barriers, or steep grades?” It prompts the staff to think in practical terms.
My low-stress pacing plan
This is my go-to itinerary when I want the day to feel relaxed, not rushed.
- Arrive early, even by 30 minutes: Cooler temps, closer parking, fewer crowds.
- Do the closest wow first: Pick the nearest highlight, like a rose garden, scenic overlook, or boardwalk platform.
- Break: Water, snack, photos, restroom if needed.
- Optional second loop: Only if energy is good. Otherwise, head to a shaded bench or cafe and call it a win.
Foodie note: If there is a cafe on-site, I like to save it for the end. A treat and a cool drink make the exit feel like part of the experience, not a retreat.
What to pack
- Small repair kit: A compact tire inflator or patch kit if you use pneumatic tires.
- Sun and heat protection: Hat, sunscreen, cooling towel, and plenty of water.
- Lightweight rain layer: Especially for gardens and waterfronts.
- Gloves: Helpful for longer paved routes.
- A printed or saved map: Screenshot the accessible route in case cell service is spotty.
FAQ
Are packed gravel trails usually wheelchair-friendly?
Sometimes. “Packed” can mean anything from beautifully firm to frustratingly loose. If the trail is listed as decomposed granite or resin-bound gravel, or explicitly described as firm and smooth, it is often a good bet. If possible, check recent visitor photos or call and ask whether wheelchairs regularly complete the loop.
What is easier: a boardwalk or a paved path?
Both can be great. Paved paths are usually the smoothest and most predictable. Boardwalks can be just as easy when they are well-maintained, but older sections can have bumps at transitions, narrow spots, or steeper ramps. If you want the most predictable roll, choose pavement. If you want maximum nature immersion with minimal mud risk, choose boardwalks after a quick width and slope check.
How far is comfortable for an easy outing?
For a low-stress day, I plan a 30 to 90 minute main route with optional add-ons. That usually translates to roughly 0.5 to 2 miles total, depending on how often you stop, how the grade feels, and what your mobility device tolerates comfortably.
What if accessible parking is full?
If the lot is busy, use a drop-off zone first so everyone can start comfortably, then park. Many gardens and larger parks have a front drive where you can unload near the entrance. If there is no drop-off, ask staff if there is an overflow accessible area or a closer route from a different lot.