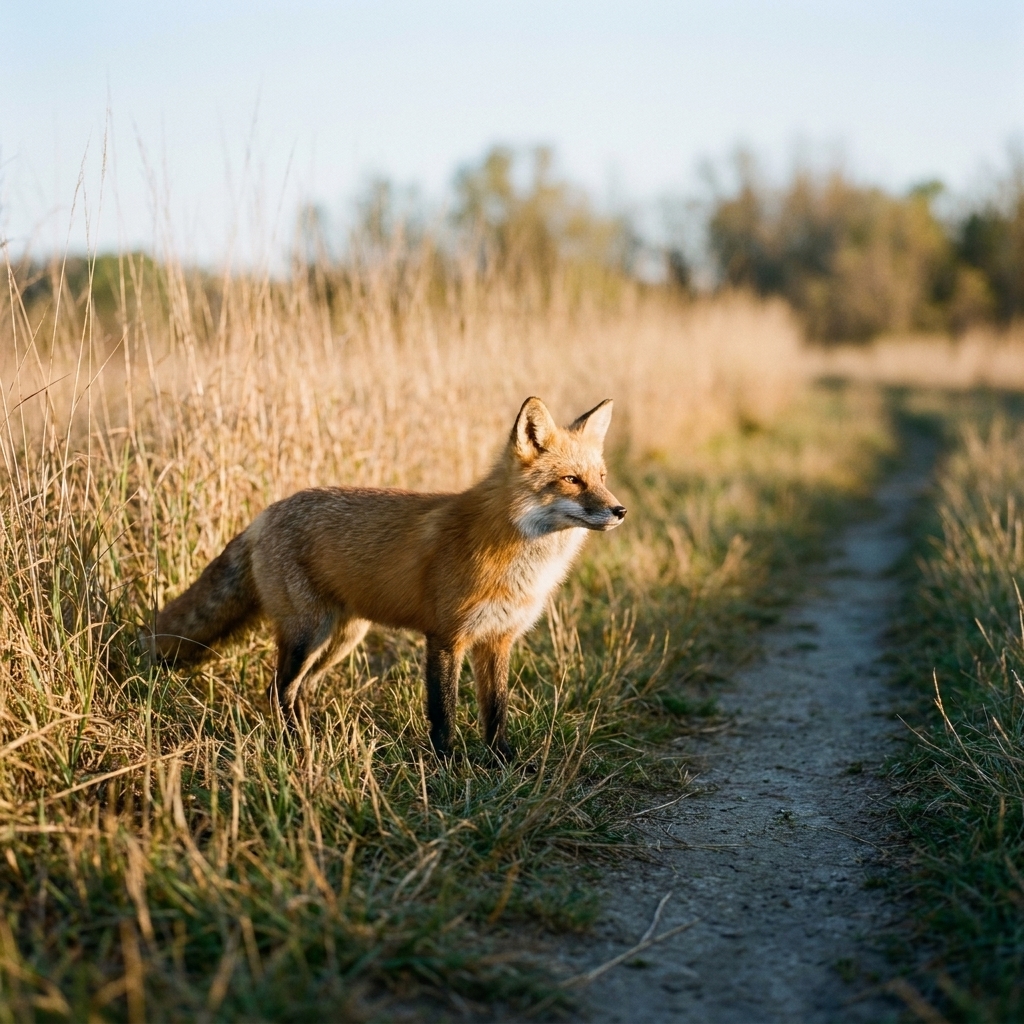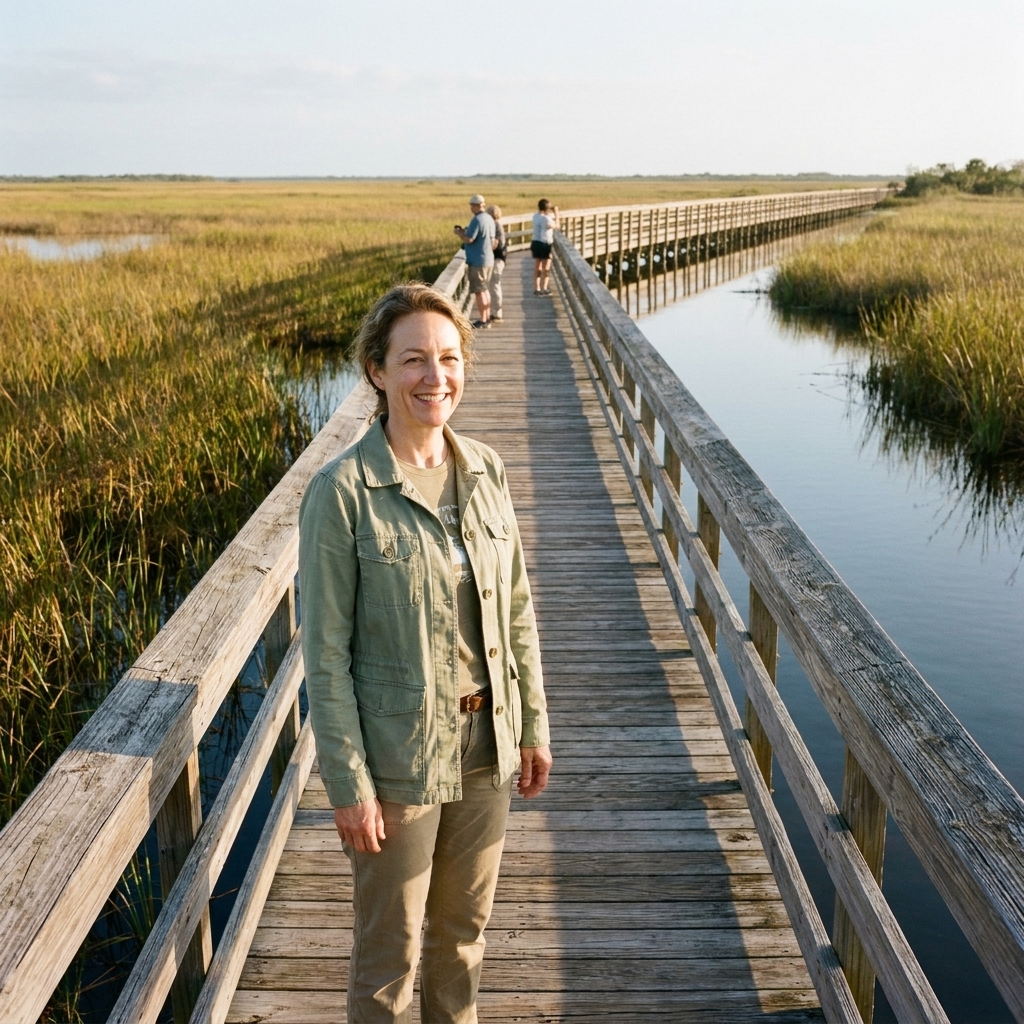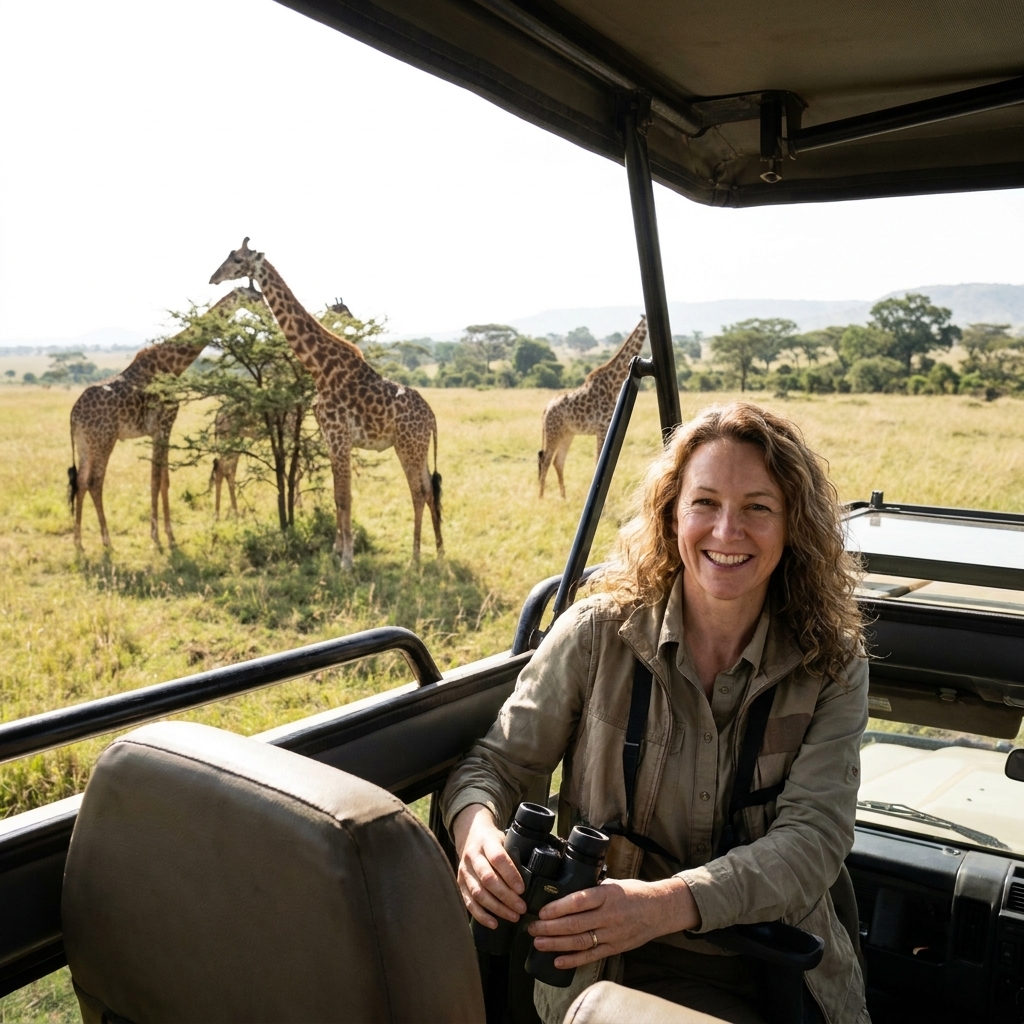
The first time I visited a public wildlife refuge as an adult, I showed up like it was a theme park. Wrong shoes, no binoculars, and I talked way too loudly because I was excited. Ten minutes later, I watched a heron lift off like a silent paper airplane and disappear into the reeds. That was my lesson: refuges and sanctuaries are still absolutely a destination worth your time, but the headliners are living things, and the best moments happen when we slow down.
This guide is for your first few visits, when you want to see wildlife, take great photos, and feel confident about what to do and what not to do, all without accidentally being that visitor.
Refuge vs. sanctuary: what you’re visiting
People use these words interchangeably, but they can mean different things depending on where you are, and who’s running the place.
- Public wildlife refuges are protected areas managed for wildlife conservation and habitat. Many are open to visitors with trails, auto loops, observation decks, and educational signs.
- Sanctuaries is a looser term. Some sanctuaries focus on protection and rescue or rehab, while others are simply protected habitat with visitor access that feels a lot like a refuge. Some are public lands with similar rules to refuges, while others are privately run and may be guided-access only.
Bottom line: always check the managing organization’s rules before you go. Two places can look similar on a map but have very different access, hours, and expectations.
Step 1: Find a spot near you
Use the “who manages it?” trick
When you find a promising location, look for the manager name. That tells you where to get reliable info like closures, wildlife alerts, and trail conditions.
- Federal: National Wildlife Refuges (U.S. Fish & Wildlife Service) often have great maps and seasonal notices. Some have visitor centers, but plenty don’t, so don’t count on one.
- State: State wildlife management areas, state parks, or conservation areas can be fantastic, but hunting seasons and access rules vary widely.
- County or city: Local nature preserves often have short loops, boardwalks, and family-friendly trailheads.
- Nonprofit: Audubon centers, land trusts, and rehab sanctuaries may offer guided walks or limited hours.
Check these details before you commit
- Hours and gates: Some refuges open at dawn and close at dusk. Others have locked gates and strict closing times.
- Entry fees or permits: Many are free. Some require day-use fees, reservations, or a parking permit.
- Seasonal closures: Nesting areas, turtle beaches, and wetland trails may close to protect wildlife.
- Road access: Auto loops can be gravel or prone to flooding after storms.
- Bathrooms and water: Don’t assume there’s a restroom. Plan like there isn’t.
- Cell service: It may be spotty or nonexistent. Screenshot your map and rules ahead of time.
- Hunting days (WMAs especially): Some areas share space with seasonal hunts. Check the hunt calendar and required safety gear.
My planning shortcut: If the place has a downloadable trail map or a phone number for current conditions, it’s usually a good sign the site is actively maintained and visitor-ready.
Step 2: Pick the right time
If you go at the wrong hour, you’ll still have a beautiful walk. If you go at the right hour, it can feel like nature staged a private show for you.
Best time of day for wildlife
- Early morning: Peak activity for birds and many mammals. Cooler temps also make walking more comfortable.
- Late afternoon to dusk: Another active window, especially for deer, owls, and marsh birds.
- Midday: Better for butterflies, reptiles sunning, and scenic photography, but fewer animal sightings in hot weather.
Best seasons (general guide)
- Spring: Wildflowers, nesting behavior, and migratory birds returning.
- Summer: Lush landscapes, turtles and gators active in many regions, but heat and bugs can be intense.
- Fall: Migration and cooler temps. Great visibility as vegetation thins.
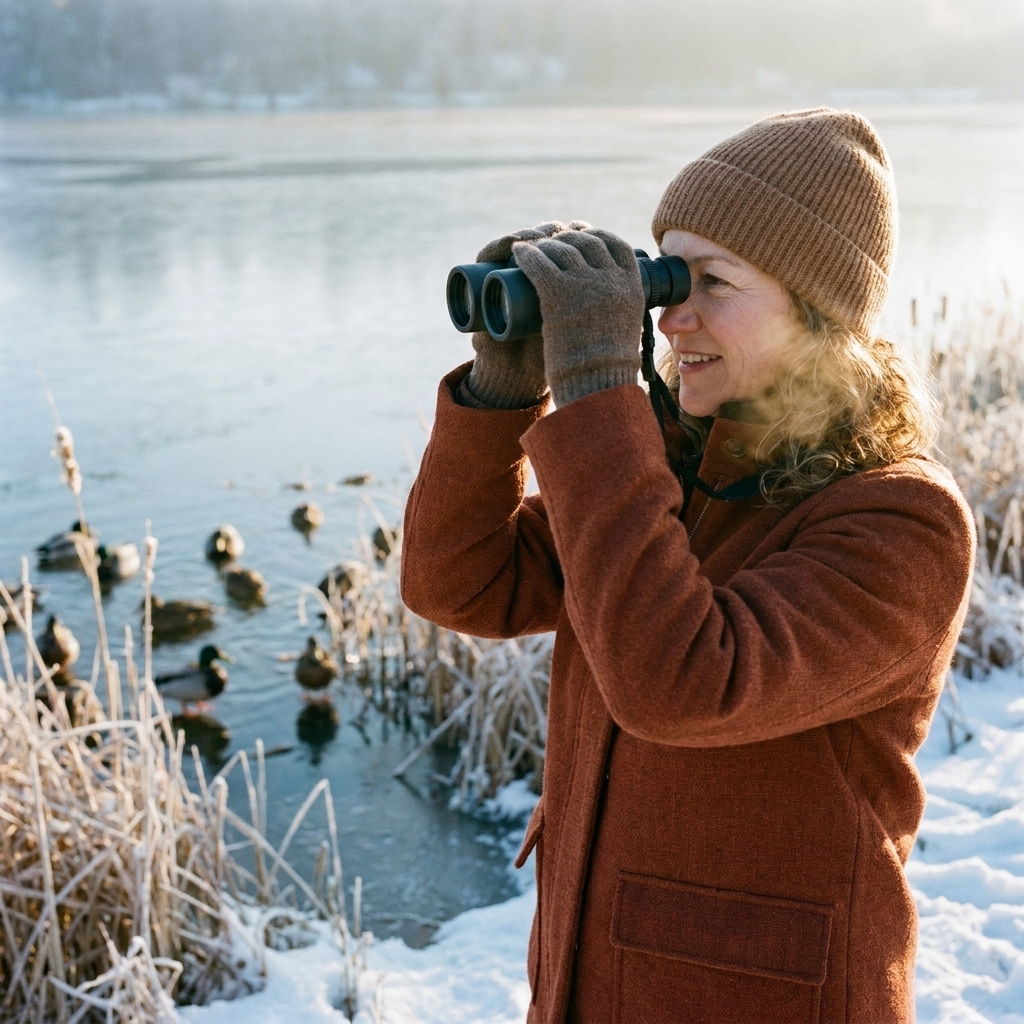
- Winter: Surprisingly good for birding and spotting animals against bare branches, especially in milder climates.
Step 3: Pack smart
You don’t need fancy gear. You need the right basics so you can stay longer and move quieter.
The beginner checklist
- Binoculars: Even a budget pair makes wildlife viewing 10 times better.
- Water and snacks: Refuges often don’t have concessions. Bring what you need.
- Bug and sun protection: Repellent, sunscreen, and a hat. Wetlands can be relentless.
- Closed-toe shoes: Trails can be sandy, muddy, or full of roots.
- Light layers: Morning chills and afternoon heat can flip fast.
- Small daypack: Keeps your hands free for rails, binoculars, or a child’s hand.
If you want better photos
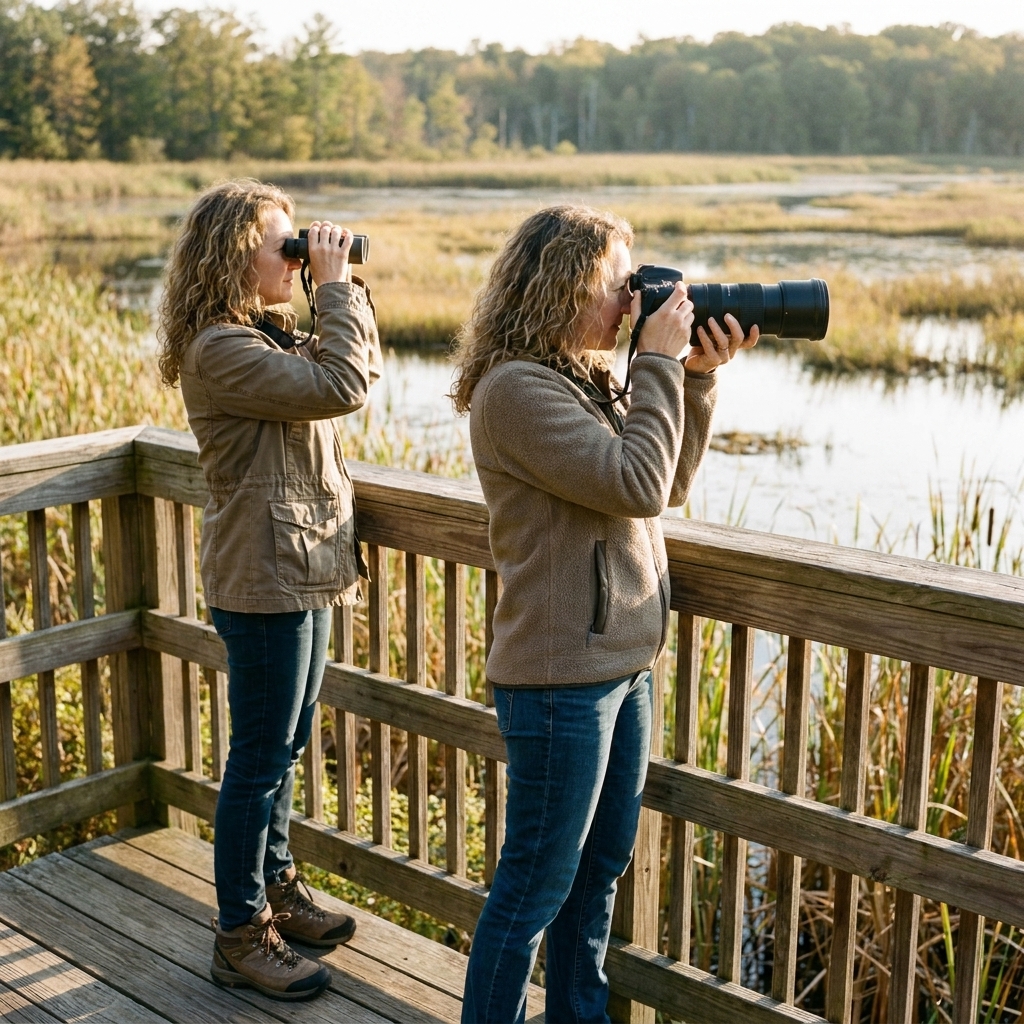
- Phone: Clean your lens. Turn on burst mode for birds in flight.
- Camera: A zoom lens is kinder than getting too close.
- Flash: Turn it off. It’s not worth spooking wildlife for a brighter shot.
- Quiet mode: If your phone has a silent shutter option, use it. Airplane mode can also reduce pings in quiet areas.
- Tripod (optional): Great for sunrise marsh shots or long-lens stability.
Step 4: Refuge etiquette
This is the part that turns a simple walk into a respectful visit that protects the place you came to enjoy.
Stay on trails and boardwalks
It’s not about rules for rules’ sake. Leaving trails can crush nests, trample sensitive plants, and create unofficial paths that widen over time.
Keep your distance
- If an animal changes behavior because of you, you’re too close.
- Don’t follow wildlife for a better angle. Let them come and go.
- Use viewing platforms and pullouts, especially on auto loops.
Never feed wildlife
Feeding changes animal behavior, increases human-wildlife conflict, and can make animals sick. Even “healthy” snacks are harmful.
Quiet is your superpower
Refuges reward low voices, slow steps, and pauses. I like to stop for one full minute at a time. You’ll hear rustles, wingbeats, frog calls, and sometimes that unmistakable splash.
Leave no trace basics
- Pack out trash, including fruit peels and anything you snack on while walking, like sunflower seed shells.
- Don’t pick plants, collect shells, or take feathers. In many places, taking native bird feathers is illegal, and it’s a great habit to leave them where they are anyway.
- Keep pets leashed where allowed, and assume pets aren’t allowed until proven otherwise.
Skip the drone
In many refuges and preserves, drones are prohibited, and even where they’re allowed, they can stress wildlife fast. If you’re here for animals, keep the airspace quiet.
If you want a personal rule that always works: act like you’re visiting someone’s home quietly and you want to be invited back.
Step 5: Spot wildlife safely
Look for signs, not animals
Wildlife hides well. Look for movement and clues.
- Tracks: In mud or sand near water edges.
- Droppings: Not glamorous, but very informative.
- Feeding signs: Chewed leaves, scraped bark, disturbed soil.
- Bird alarm calls: Small birds yelling can mean a hawk nearby.
Use the “edge” strategy
The best viewing is often where habitats meet: forest to field, reeds to open water, shoreline to mangroves. These transition zones can be busy with feeding and movement.
Scan in layers
- Near: Frogs, lizards, butterflies, tracks along the trail.
- Middle: Wading birds, rabbits, otters along the water.
- Far: Raptor silhouettes, distant herds, flocks over wetlands.
What “safe distance” looks like
Exact distances vary by species and local rules, so treat this as a set of rules of thumb, not a ruler measurement:
- Best indicator: If the animal looks at you repeatedly, stands taller, stops feeding, or moves away, you’re too close.
- Barriers count: If you’re tempted to cross a rope, fence, or closure sign, you’re definitely too close.
- Group check: If your group is naturally getting louder because you’re excited, that’s a sign to stop, spread out, or step back.
On wildlife drives, your car is your blind
If your refuge has an auto loop , stay in the car when possible. It’s often the best way to watch animals without stressing them, and it keeps you safer around large wildlife.
Common wildlife and how to act
Birds
Birds are often the easiest win for beginners. Bring binoculars, move slowly, and watch perches and shorelines. Avoid blocking access to feeding or escape routes (like the shoreline), and never approach nests.
Alligators and crocodilians (where applicable)
Keep a wide berth, never feed them, and don’t let kids play near the water’s edge. Many agencies recommend staying at least about 60 feet (20 meters) away, but always follow posted guidance. If you see a gator on a trail, give it space and choose another route.
Deer, elk, bison, and other large mammals
They look calm until they’re not. Stay far back, especially during mating season and when young are present. Use pullouts on auto loops and never block the animal’s path.
Snakes
Most want nothing to do with you. Watch where you step, stay on trail, and give snakes room to move away. Don’t attempt to move or handle them.
Marine and coastal wildlife
On beaches and estuaries, shorebirds and turtles are easily disturbed. Obey roped-off areas and keep dogs away where required.
Plan your first visit
1-hour “taste test”
- Arrive early or late for cooler temps.
- Walk one short loop or boardwalk.
- Spend 10 minutes at an overlook scanning quietly.
- Leave before anyone gets hungry or cranky. End on a high note.
Half-day “wildlife sampler”
- Start at the visitor center if there is one, or check the kiosk map for trail conditions and recent notices.
- Do one trail plus an auto loop or second habitat area.
- Pack a picnic and eat at designated tables only.
- Wrap with a final sit-and-scan session near water.
Full-day “I brought binoculars for a reason”
- Arrive at opening for peak wildlife.
- Choose two habitat types (wetland + forest is a great combo).
- Take a midday break in shade, then return for golden hour.
- Keep a notes list of what you saw for next time.
Accessibility and family tips
If you’re visiting with kids
- Give them a mission: “Find three different bird sounds” or “Spot five animal tracks.”
- Bring a snack buffer: Hungry kids get loud kids. Loud kids see fewer animals.
- Set expectations: You’re there to look for wildlife, not guarantee it.
If you need an easier route
Look for boardwalks, paved loops, or “accessible trail” labels on refuge maps. Many refuges have excellent viewpoints that require very little walking, especially along wildlife drive routes.
Safety basics
- Tell someone your plan if you’re going solo, especially in remote areas.
- Check weather and tides for coastal or flood-prone refuges.
- Bring more water than you think in hot climates.
- Do not approach injured wildlife. Report it to staff if possible.
- Respect closures and signs. They exist because something sensitive is happening.
- Tick and plant check: In many regions, ticks and poison ivy are part of the deal. Do a quick post-visit tick check, and learn the “leaves of three” look before you wander off to the trail edge.
- If hunting is allowed nearby: Follow local guidance, avoid closed zones, and wear blaze orange when required.
FAQ for first-timers
Do I need binoculars to enjoy a refuge?
No, but you’ll enjoy it more with them. Binoculars let you keep distance and still see details like feather patterns, beaks, and behavior.
Are wildlife refuges free?
Many are free, but some charge entry or parking fees or require permits. Always confirm before you go, especially if you’re arriving early when staff aren’t on site.
What if I don’t see any animals?
You still got a nature reset, which counts. For next time, go earlier, slow down, spend more time at water edges, and check any posted updates for what’s been active lately.
Can I bring my dog?
It depends. Some refuges allow leashed dogs on specific trails, others don’t allow pets at all to protect wildlife. Check rules before you arrive.
My final “do this” tip
Before you leave the parking area, take 30 seconds and listen. Not for animals, for the vibe. Wind direction, bird chatter, whether the place feels busy or quiet. Then pick a route that lets you move gently, pause often, and leave the habitat exactly as you found it. The more you treat a refuge like a living neighborhood instead of a checklist, the more it opens up to you.
And when you do spot that first fox, otter, owl, or rare wading bird, keep your distance, whisper your excitement, and enjoy the kind of thrill that doesn’t require a ticket booth.