Children’s museums are basically the Olympics of family outings: wildly fun, slightly chaotic, and surprisingly physical if you’re chasing a toddler with a pretend grocery cart. The good news is that a little planning goes a long way. When you time your arrival well, pack smart, and pick exhibits that match your kid’s age and energy level, you’ll leave with happy memories instead of “we need a nap” tears.
What to expect inside a children’s museum
Children’s museums are designed for hands-on play. Expect lots of movement, noise, and activities that invite kids to touch, build, climb, dress up, experiment, and make a mess in the best possible way. Many museums have staff facilitators in key zones, but most of the “guiding” is on you.
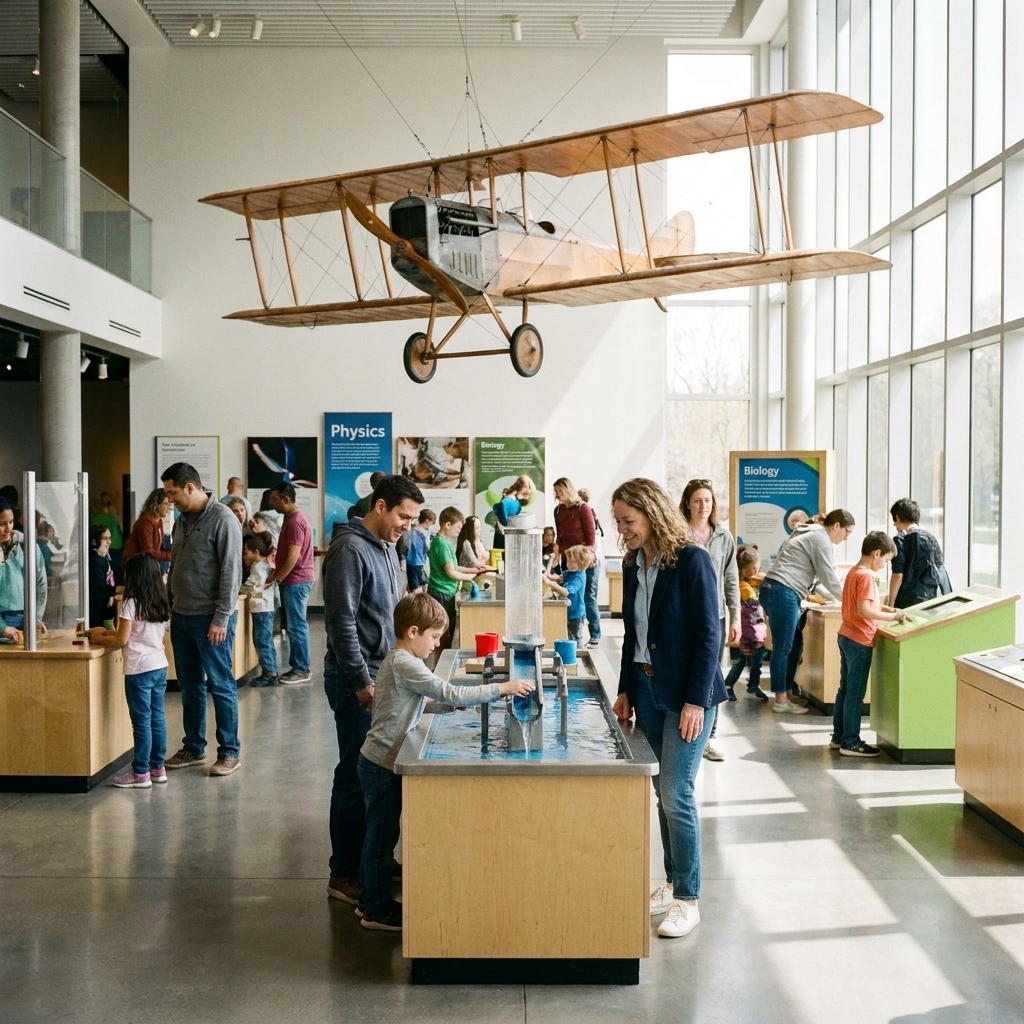
- Interactive stations over glass cases: Fewer look-don’t-touch displays, more do-it-yourself experiences.
- Rotating programs: Storytimes, craft labs, science demos, music circles, and seasonal exhibits (offerings vary by museum).
- Kid-scale everything: Small doorways, low counters, pint-sized tools, and child-friendly signage.
- Comfort amenities: Family restrooms, nursing spaces, stroller parking, and sometimes a snack area or café.
One important mindset shift: this is not a “see it all” museum. Think of it like a playground with themed zones. Your best visit is the one where your child gets deep playtime in a few areas rather than a rushed tour of every corner.
How much time to budget
Most families do best with a 2- to 3-hour plan, plus flexibility. Think of these as a practical starting point, not a strict rule. Stamina, nap schedules, and crowd levels matter.
- Babies (0 to 12 months): About 60 to 90 minutes. Sensory rooms and soft play are perfect, but overstimulation hits fast.
- Toddlers (1 to 3): About 90 minutes to 2.5 hours. They’ll bounce between zones quickly, then suddenly need a reset.
- Preschool (3 to 5): About 2 to 3.5 hours. This is the sweet spot for pretend play, water tables, building zones, and art rooms.
- Elementary (6 to 10): About 2 to 4 hours. They can focus longer, especially on maker spaces, STEM exhibits, and challenge-based activities.
- Tweens (11+): About 90 minutes to 3 hours, depending on the museum. Choose locations with engineering labs, digital media, or special exhibits to keep it engaging.
If you’re traveling or you have multiple kids across ages, plan for one anchor exhibit each child will love. That alone can save your day.
Best time to go
Children’s museums can have predictable crowd patterns, but they are not universal. School groups, camps, weather, tourist seasons, and special programming can shift the busy hours. If the museum posts a calendar, timed-entry capacity notes, or any kind of crowd guidance, use it.
Avoid the common rush
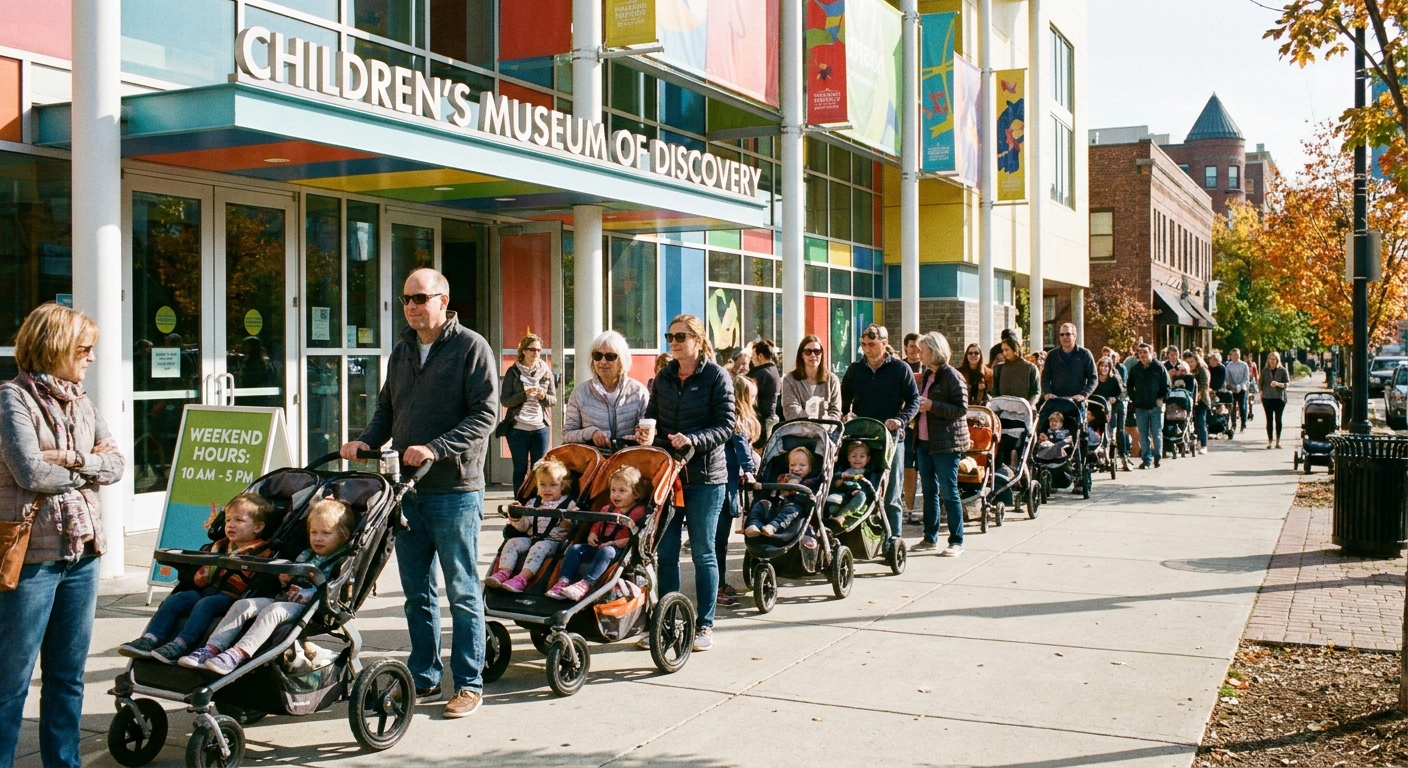
In many cities, a commonly busy arrival window is late morning, roughly 10:00 a.m. to 12:00 p.m. That’s when families finish breakfast, load up the car, and aim for a mid-day outing. On weekdays, late morning can also overlap with school groups.
Quieter arrival windows
- Right at opening: Often your best shot at emptier exhibits and easier parking.
- Early afternoon: In some places, families leave for lunch and naps. If your child can handle it, try arriving around 1:00 to 2:00 p.m. (but check your museum’s schedule because camps and classes can flip the vibe).
- Last 90 minutes: Often calmer, though some museums get an after-school bump or start closing down certain areas.
Best days of the week
- Weekday mornings: Usually calmer, but check for field trips and camps.
- Weekends: Typically busiest, especially on rainy days and holiday weekends.
- School breaks: Expect higher crowds and shorter patience. Plan shorter and pack extra snacks.
Pro planner tip: if timed entry is available, pick a slot that fits your kid’s rhythm, not just what’s open.
Tickets and memberships
Ticketing is one of the easiest stress-prevention wins.
- Buy online when you can: Some museums offer timed entry, and popular weekends can sell out.
- Check age cutoffs: “Under 1” or “under 2” may be free, but policies vary. Some also discount seniors or military families.
- Look for quieter entry options: Some museums offer member-only hours or sensory-friendly sessions, which can be a game changer if crowds are tough for your child.
- Consider a membership if: you live nearby, you plan to return twice in a year, or you want to pop in for shorter visits without feeling like you must “get your money’s worth.”
If you travel often, it’s worth checking whether your museum membership includes reciprocal admission at partner museums. Reciprocity is program-specific, so confirm details on the museum’s website and look for fine print like distance restrictions or blackout dates so there are no surprises at the door.
Choosing exhibits by age
The fastest way to upgrade your visit is to match exhibits to your child’s developmental stage. When you pick the right zones, kids often regulate better, play longer, and melt down less.
Babies (0 to 12 months)
- Look for: soft play, mirrors, gentle sensory walls, light-and-sound panels, quiet nooks.
- Skip if possible: crowded water tables, loud construction zones, and anything with older kids racing through.
Toddlers (1 to 3)
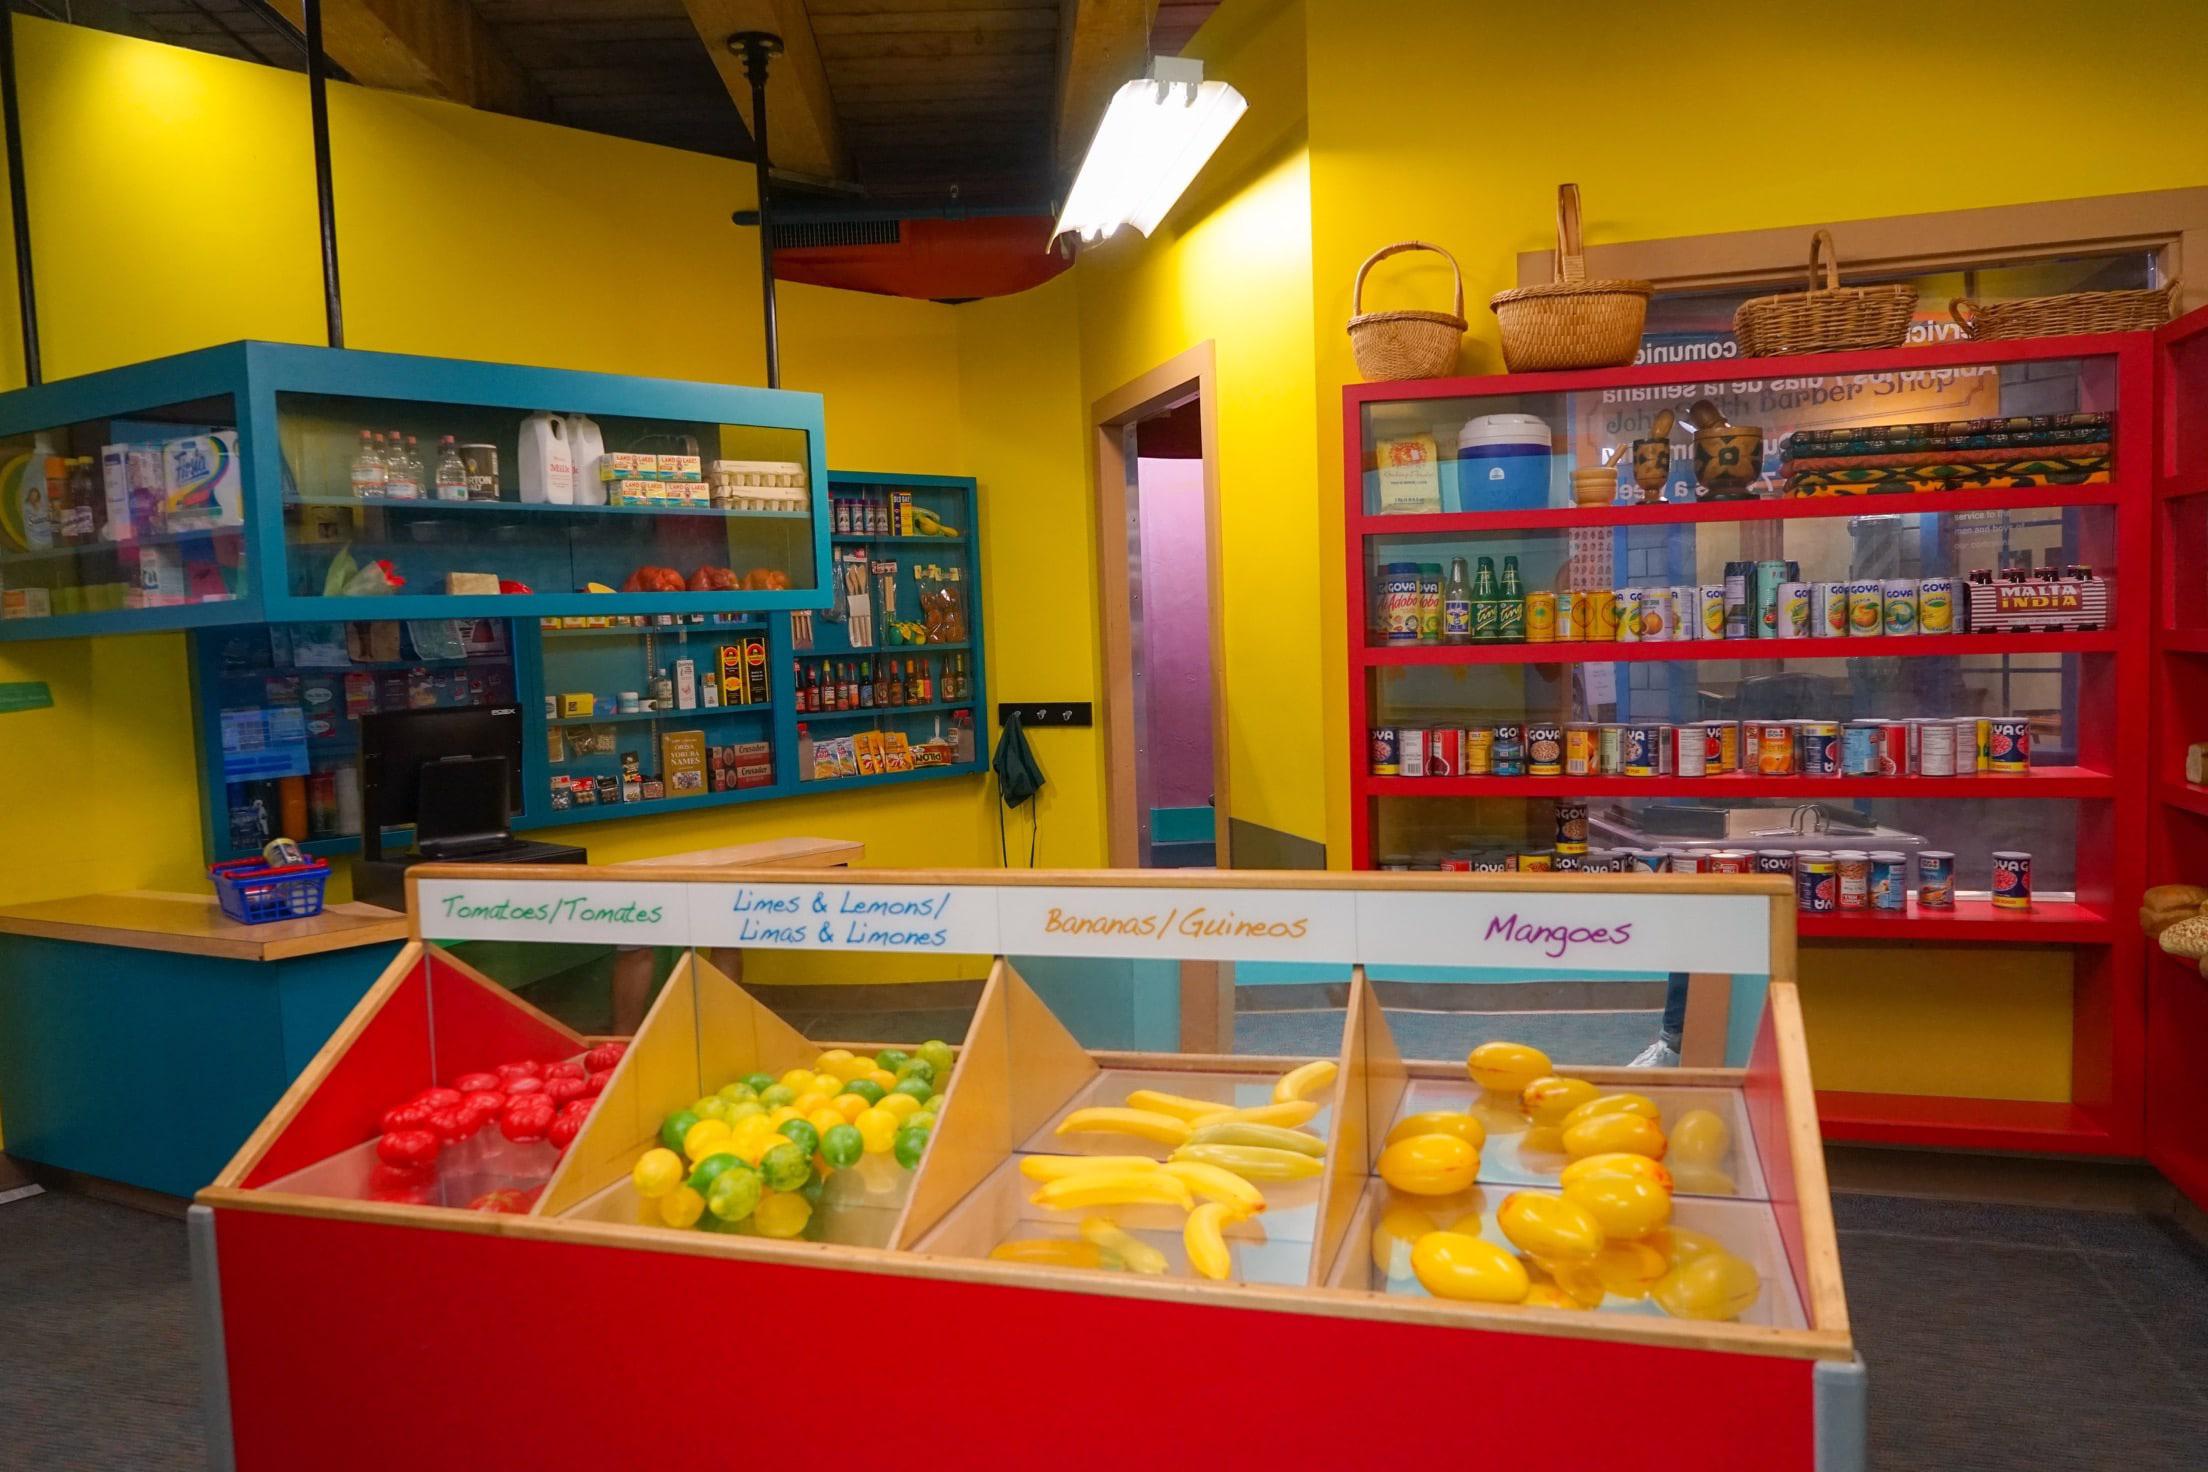
- Look for: pretend homes, mini markets, vehicle play, big foam blocks, simple cause-and-effect exhibits.
- Plan for: frequent transitions. Choose a “home base” area you can return to between adventures.
Preschoolers (3 to 5)
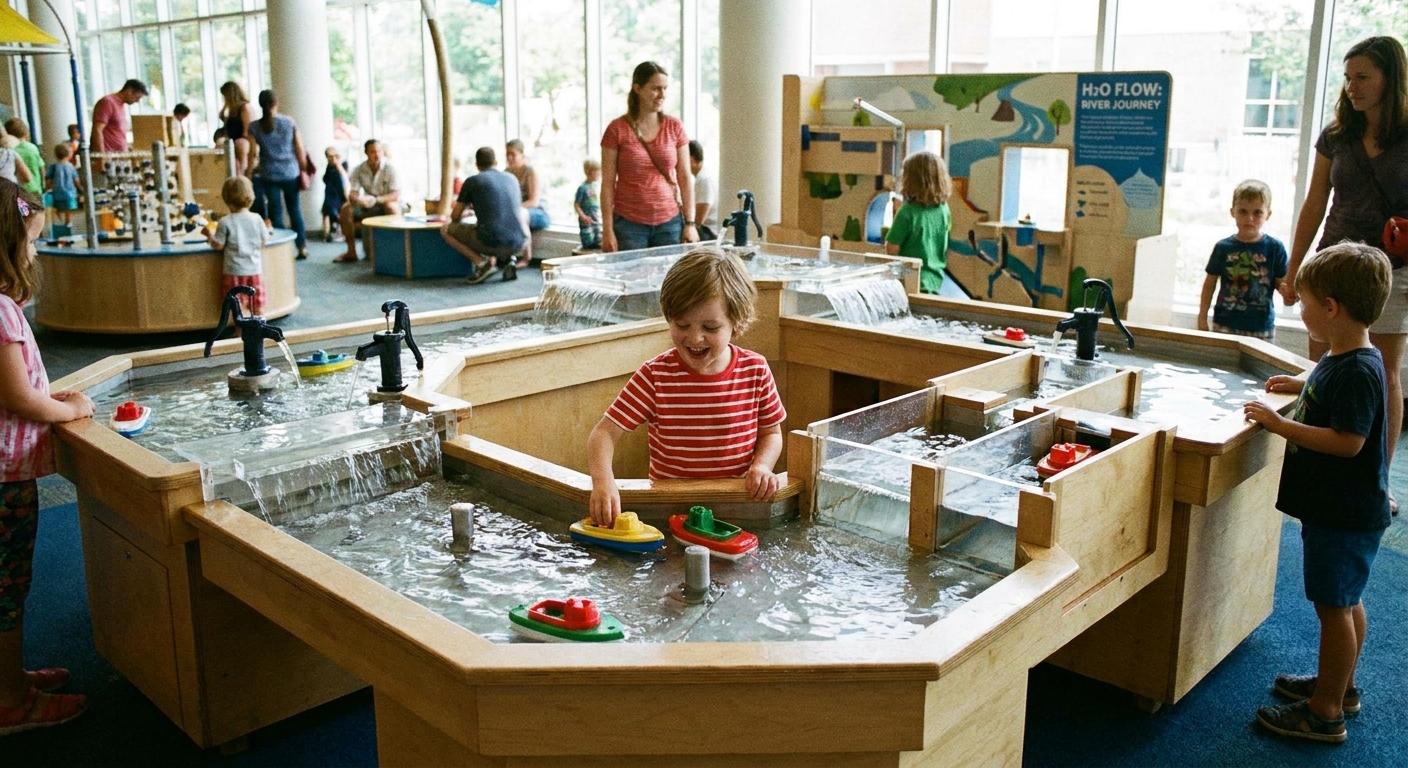
- Look for: dress-up, role-play towns, water play, art studios, puppet theaters, building challenges.
- Plan for: longer attention spans. They may want to run the same pretend scenario 12 times. Let them.
Elementary kids (6 to 10)
- Look for: maker spaces, simple coding, engineering builds, problem-solving trails, science labs, escape-room-style puzzles.
- Plan for: goals. Give them a mission like “build the tallest tower” or “design a bridge that holds weight.”
Tweens (11+)
- Look for: rotating special exhibits, animation studios, digital media labs, robotics, advanced maker tools with staff support.
- Plan for: autonomy. Let them lead the route, and build in a café stop so it feels less “little kid.”
A simple game plan
Here’s a plan that works for most families, especially when naps and hunger are part of the equation.
Step 1: Pick your top 3 zones
Before you arrive, scan the museum map and choose three must-do areas that fit your child’s age. Anything else is bonus.
Step 2: Start with a high-demand exhibit
If there’s a beloved water room, train table, toddler gym, or popular maker lab, go there first while it’s less crowded and supplies are stocked.
Step 3: Build in a reset
Plan a snack or quiet corner break about 45 to 60 minutes in. Kids do better when breaks are proactive, not rescue missions.
Step 4: End with a clean exit
Finish at an exhibit that is easy to leave. Gift shops, big climbing structures, and ball runs can be tricky finales. A calmer pretend-play zone or the art room is often an easier last stop.
Food and water
Food is not an afterthought. It’s crowd control.
- Pack: water bottles, a protein snack, a quick carb, and one “emergency morale booster” treat.
- Choose low-mess options: pouches, cheese sticks, crackers, pretzels, cut fruit in a sealed container.
- Know the rules: Some museums allow snacks only in designated areas. Check ahead so you are not negotiating granola bars by the dinosaur exhibit.
- If there’s a café: decide in advance whether you’re eating there. Peak lunch lines can derail your plan.
If your child gets hangry fast, a phone timer for snack breaks sounds silly until you realize it prevents half the tears.
Naps and downtime
Children’s museums are stimulating, which means kids tire out fast even if they look like they have endless energy.
For toddlers who still nap
- Option A: Go right at opening and leave before nap time.
- Option B: Aim for a post-nap arrival and enjoy a calmer afternoon.
- Stroller nap plan: If your child can nap on the go, bring a stroller even if they rarely use one. A 20-minute snooze can save the day.
For kids who do not nap
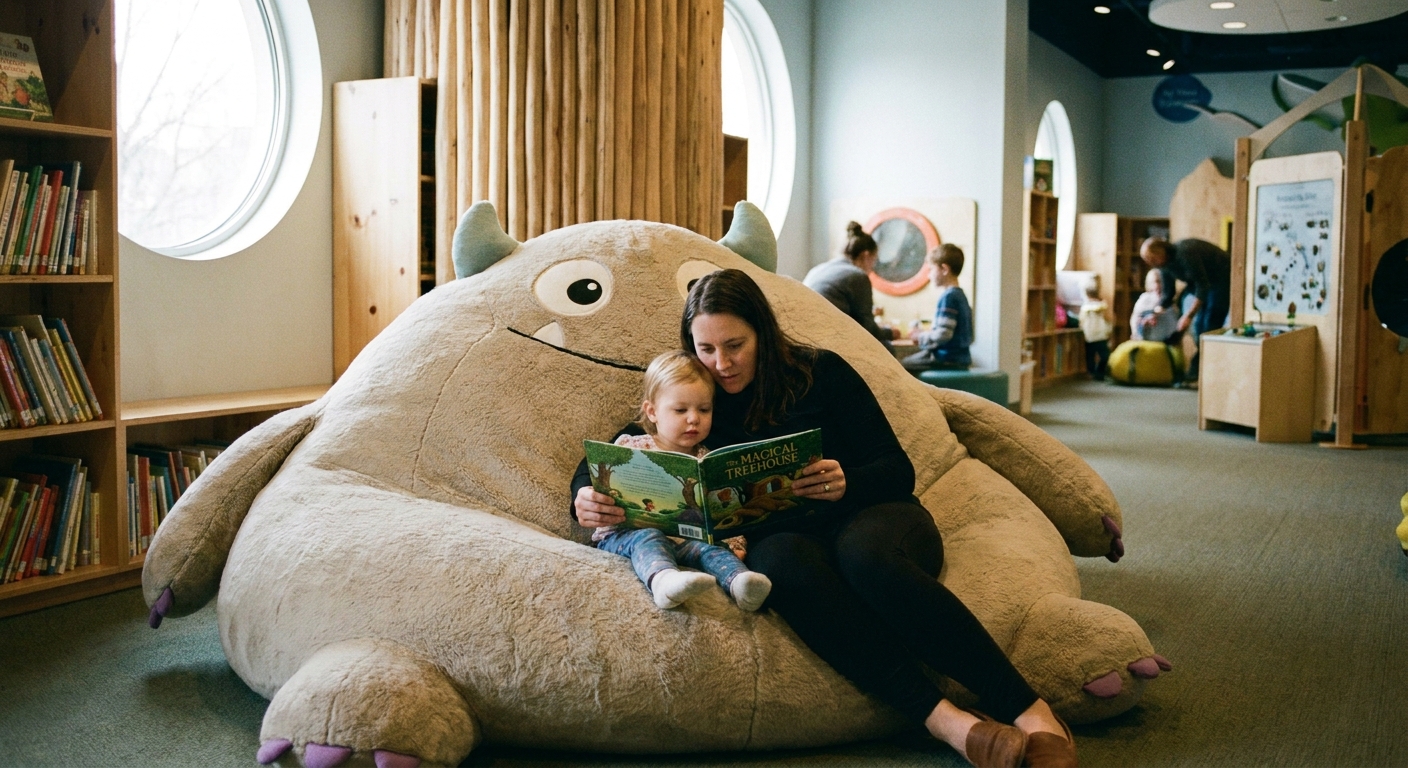
- Build a quiet break: Look for reading corners, sensory rooms, or a less popular gallery.
- Lower the pace: Alternate high-energy zones with calmer ones to reduce overstimulation.
What to pack
A great children’s museum bag is light, practical, and ready for mess.
Bring
- Wipes and hand sanitizer
- Refillable water bottles
- One change of clothes for kids (especially for water play)
- Socks for play areas that require them
- A small towel or extra shirt if there’s a splash zone
- Any essentials like inhalers, EpiPens, or comfort items
Consider
- A lightweight stroller for big museums or post-lunch fatigue
- Noise-reducing headphones for kids sensitive to loud spaces
- A zip bag for wet clothes
- Labels for water bottles and jackets (lost-and-found piles are real)
Leave at home
- Bulky toys that will get lost or cause debates with other kids
- Hard-to-clean outfits
- Anything you will be devastated to misplace
Accessibility and sensory tips
Many children’s museums are built with inclusion in mind, but supports vary by location. If your child benefits from extra structure or a calmer environment, check the museum website for sensory-friendly hours, visual schedules, and accessibility notes.
- Sensory-friendly options: Some museums offer lower-noise sessions or special mornings with reduced lighting and smaller crowds.
- Mobility needs: Look for elevator access, ramp routes, and exhibit notes for wheelchairs and strollers.
- Quiet spaces: Ask staff where you can take a calm break if your child starts to feel overwhelmed.
Safety and courtesy basics
- Supervise the climbers: Many areas are designed for safe risk-taking, but the pace can be fast.
- Wash hands when you can: Especially after water tables and sensory bins. Wipes help, but a real handwash is better.
- Check photo rules: Some museums restrict photography in certain exhibits or ask guests to avoid capturing other children. A quick glance at policies saves awkward moments.
- Use lockers if available: If the museum offers cubbies or lockers, stash coats early so you are not hauling winter gear through the pretend pizza shop.
Little hacks
- Do a quick bathroom stop right away: Even if no one has to go. It reduces interruptions later.
- Take a photo of your child at the entrance: Helpful if you need to describe what they are wearing.
- Pick a meet-up spot: If you’re visiting with another adult, choose a landmark in case you get separated.
- Dress for mobility: Kids climb, crawl, and sit on floors. Comfy clothes win.
- Let your child lead sometimes: The magic is in following their curiosity, not sticking to a strict checklist.
FAQ
Are children’s museums good for adults?
Yes, but not in a “quiet gallery” way. Adults have the most fun when they lean into the play, take photos when allowed, and treat it like interactive bonding time.
What if my kids are different ages?
Start with the youngest child’s needs first (food, naps, bathroom breaks), then rotate through age-appropriate zones. If possible, have one adult take an older child to a maker or STEM area for 20 minutes while the other stays in toddler-friendly spaces.
Should we do the water play area?
If your child loves sensory play, absolutely, just plan for it. Bring a change of clothes and do water play earlier in the visit so no one spends the rest of the day damp and cranky.
How do I keep it affordable?
Buy tickets online if there’s a discount, visit during off-peak times when you can, pack snacks, and consider a membership if you will go more than once. Some museums also offer community days or discounted evening hours.
The takeaway
A successful children’s museum day is less about seeing everything and more about matching the plan to your child’s rhythm. Arrive outside the late-morning rush when you can, pick a few age-right exhibits, treat snacks and water like they are non-negotiable, and build in downtime. Do that, and you’ll walk out with the best kind of souvenir: a kid who cannot stop talking about what they discovered.