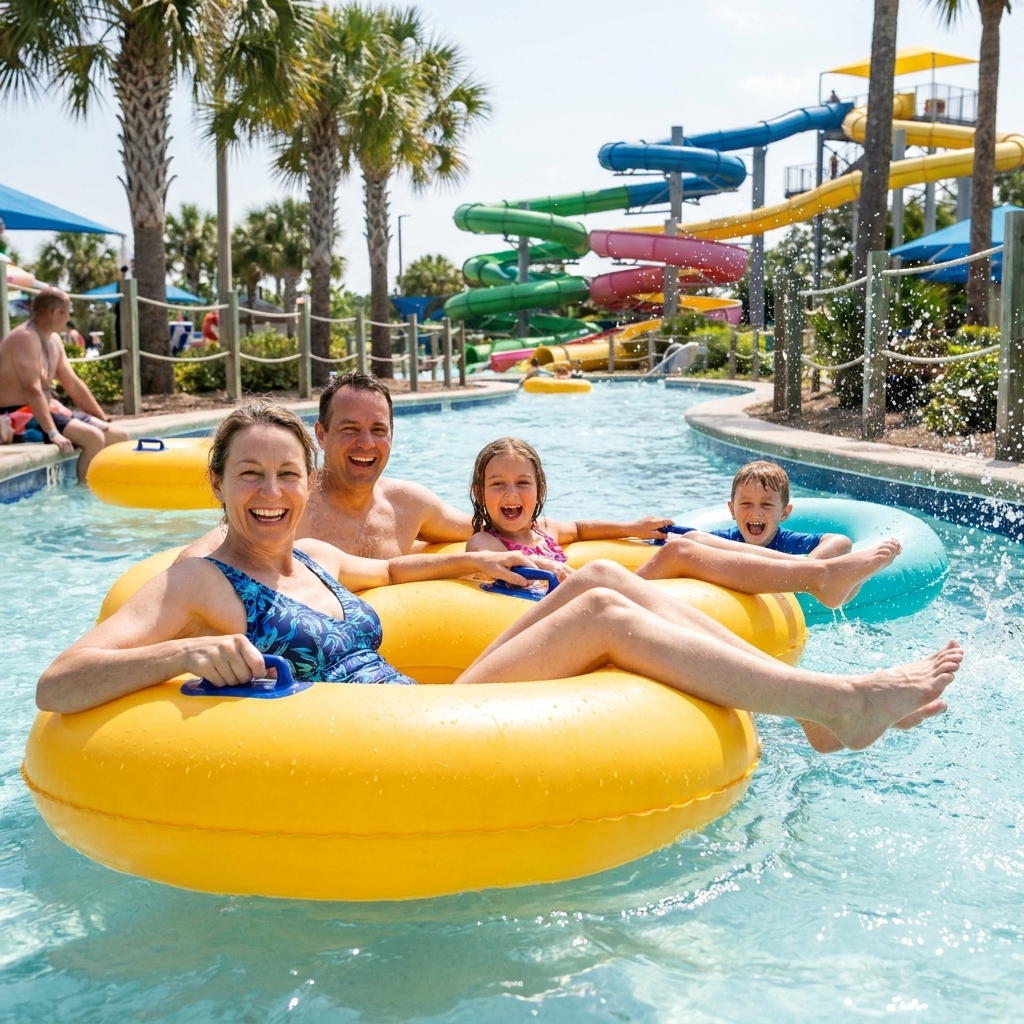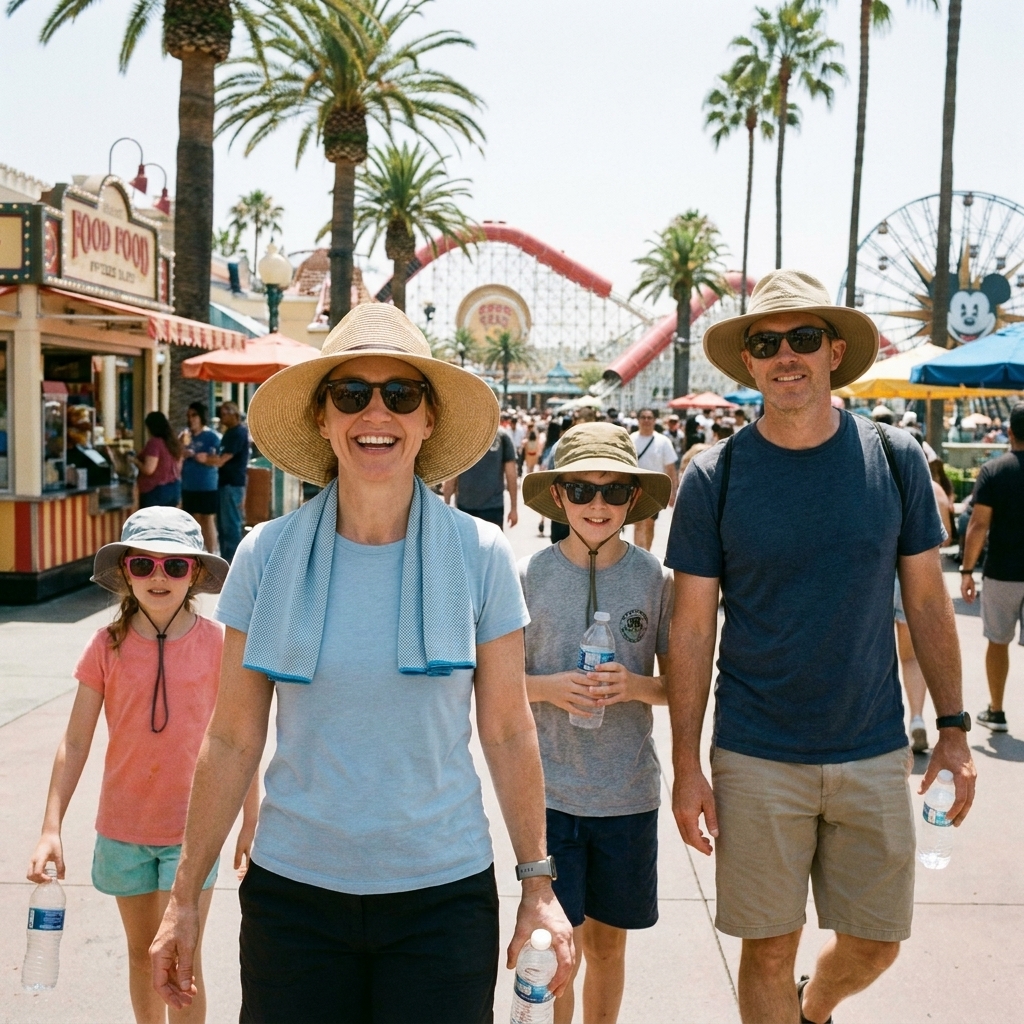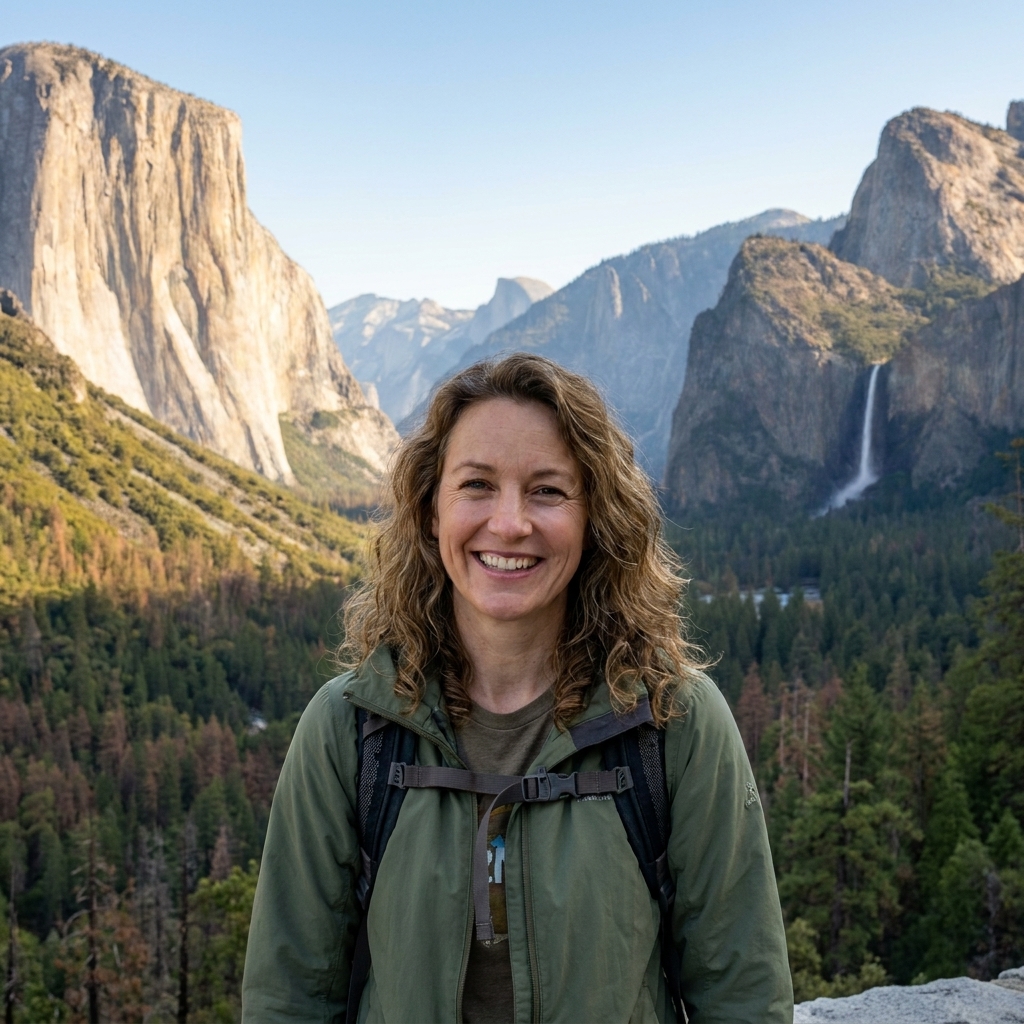
I grew up in the Orlando area, which basically means I was raised on queue lines, height sticks, and the art of packing snacks like it’s an Olympic sport. Aerial adventure parks hit that sweet spot between theme-park thrills and fresh-air therapy. You get ziplines, rope bridges, wobbly logs, and that proud, shaky-kneed victory feeling when you ring the end-of-course bell.
If you’ve never done a treetop obstacle course before, you’re in the right place. This guide covers how to pick the right park, what the safety gear actually does, what to wear, how to prep kids and nervous adults, and how to feel like you belong up there from the first clip-in.
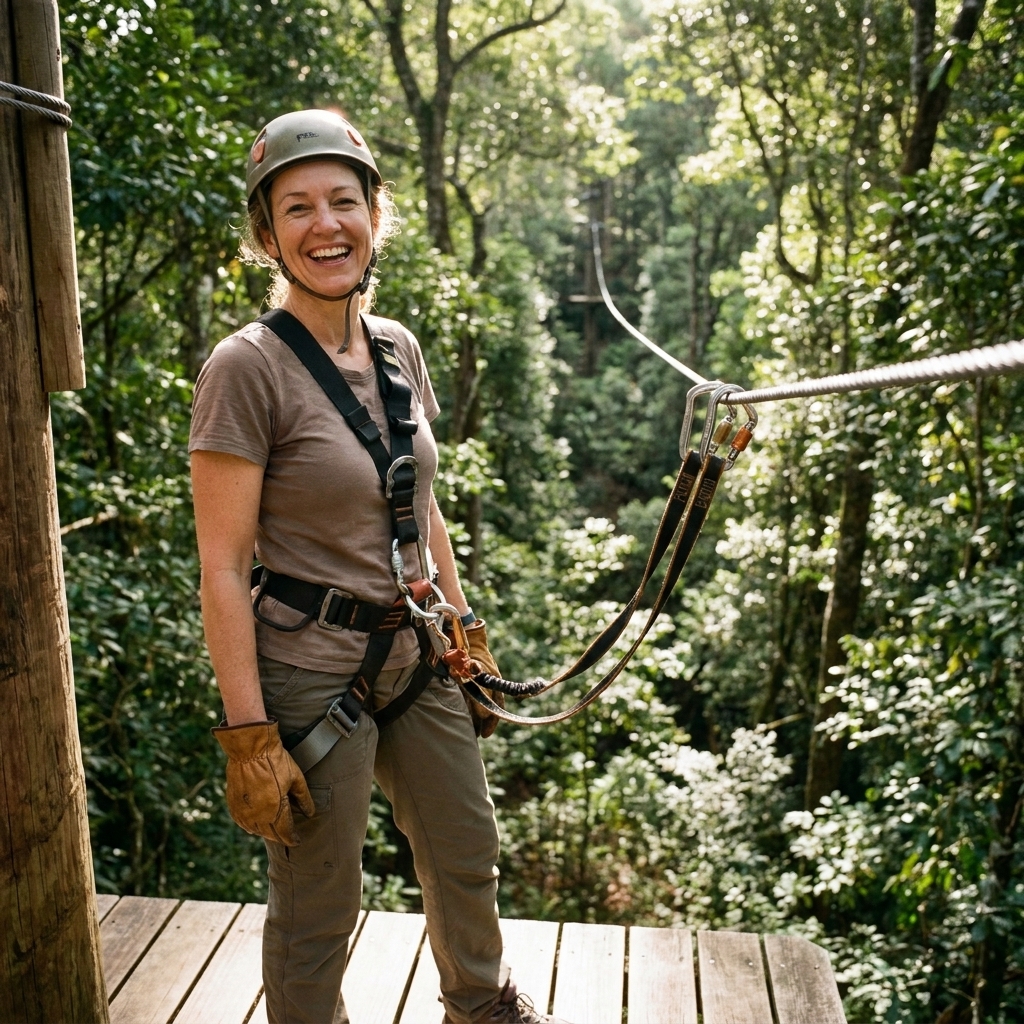
What it is
Most aerial adventure parks combine two things:
- Treetop obstacle courses: Suspended elements like rope bridges, nets, swinging steps, cargo ladders, and balance beams, usually arranged in color-coded routes by difficulty.
- Ziplines: Short zips connecting platforms within a course, or longer “tour-style” ziplines that feel more like a point-to-point ride.
Some parks are built in real forests, some use tall poles and cables in open fields, and some are at ski resorts or botanical gardens . The vibe is usually friendly and beginner-forward, with staff coaching you through your first clips and landings.
Choosing a park
Not all parks are created equal. Before you book, match the park to your comfort level, your group’s ages, and how much time you want to spend on the course.
Beginner-friendly features
- Multiple course levels: A true mix of green, blue, and black style routes means beginners can start easy while thrill-seekers level up.
- Practice course: You want a training loop low to the ground where you can try clipping, stepping, and a mini zip first.
- Continuous belay system: Many modern parks use a “smart” attachment system designed to keep you connected at all times. If a park uses traditional carabiners, the training matters even more, and you should ask questions.
- Clear time blocks: Parks that stagger arrivals reduce platform bottlenecks and make the whole day calmer.
Know the big three
Every park posts requirements, but here’s what they usually mean in real life:
- Minimum age: Often tied to kid courses vs full-height courses. Age alone isn’t the full story.
- Minimum height: This is usually about harness fit and being able to stand safely on elements.
- Minimum reach: Some parks use a “wrist to the top of head” reach test so guests can safely clip overhead lines.
- Weight range: A minimum is rare, but a maximum is common for equipment and braking systems.
If you’re booking for kids, plan around reach, not ambition. A confident kid who can’t reach the line will have a frustrating day. A kid who can reach but wants to take it slow will have an amazing day.
Course vs zip tour
- Course-style park: More obstacles, more choice, lots of short zips between platforms. Great for families and groups with mixed bravery levels.
- Zipline tour: Fewer obstacles, longer zips, more of a guided flow. Great for couples and first-timers who want the zipline thrill without the puzzle of obstacles.
Booking tips
Pick your time slot
- Morning: Cooler temps, lower crowds, and you’re less likely to get delayed by afternoon thunderstorms in humid climates.
- Weekdays: More flexible pacing on platforms and more staff attention if you’ve got questions.
- Golden hour: Gorgeous light for photos, but check sunset times so you’re not rushing the end of your session.
Know what’s included
Some tickets are “up to X hours,” others are “complete as many courses as you can.” Ask:
- Is training included in the session time?
- Are gloves included or extra?
- Are lockers included?
- Can you switch course levels freely?
- Is there a rain policy or rescheduling option?
Group strategy
My hospitality-planner brain loves a buffer. For first-timers, choose a park where the easiest full course looks doable, not barely survivable. You can always level up. Starting too hard can turn the day into a midair negotiation.
What to wear
Comfort and safety beat fashion here, but you can absolutely look cute while being practical.
Best outfit formula
- Closed-toe shoes: Sneakers or light hikers with good grip. No sandals, no Crocs.
- Fitted athletic clothing: Think leggings or shorts that don’t ride up, and a top that stays put when you’re reaching overhead.
- Weather layers: A light rain jacket or breathable long sleeve is clutch in cooler forests or windy ridgelines.
- Hair secured: Ponytail or braid, nothing that can catch in pulleys.
Skip these
- Loose scarves, dangling jewelry, or long key lanyards
- Skirts and dresses (harness + ladders = not a great combo)
- Anything you’d cry about getting dirty
Gloves: yes or no?
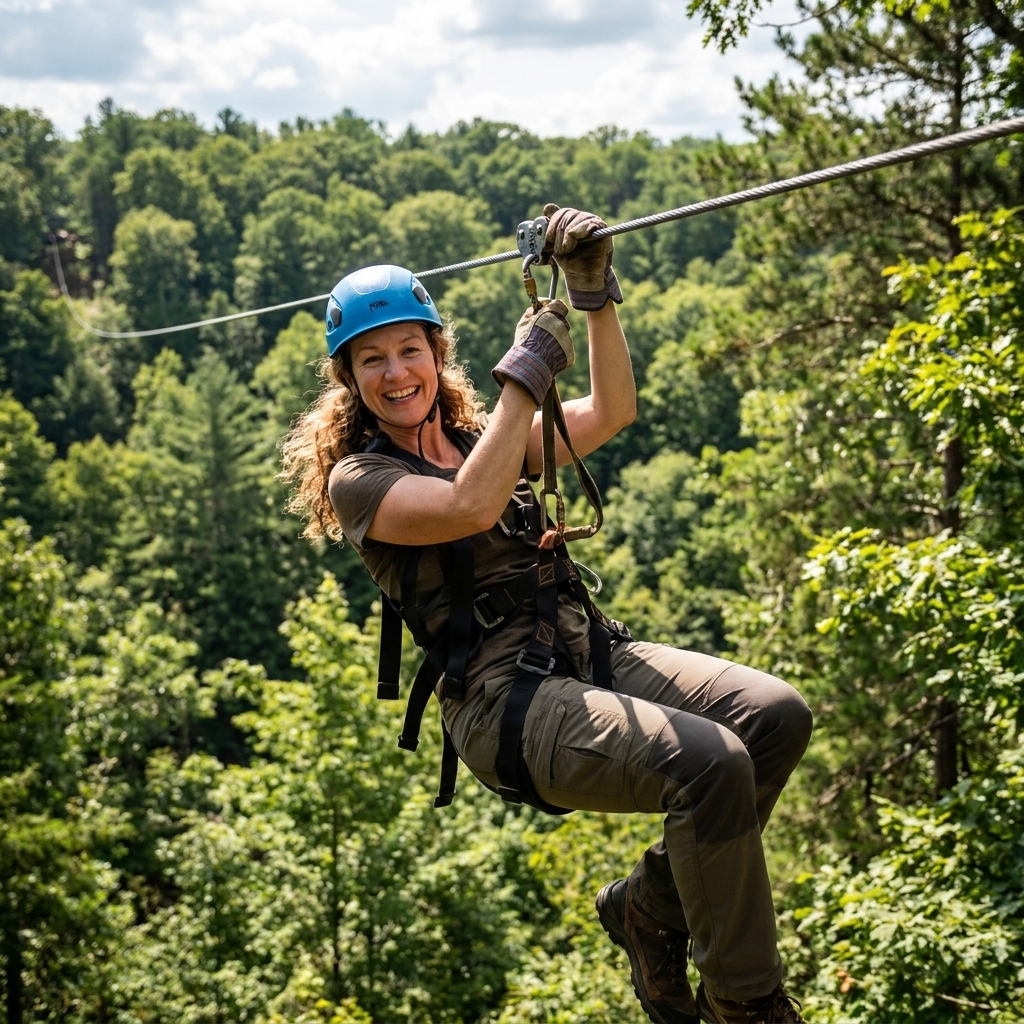
Many parks recommend gloves to prevent rope burn and cable friction. If the park sells approved gloves on-site, that’s easy. If you bring your own, choose snug athletic or work gloves with enough dexterity to handle clips.
Safety basics
The biggest fear I hear from beginners is, “What if I unclip?” The good news: modern aerial parks are built around keeping you attached and slowing you down.
Attachment systems
- Continuous belay: A system designed so you stay connected from start to finish of a route. You might slide a connector past anchor points rather than fully unclipping.
- Carabiner double-clip: You move along and clip to safety cables at each station. This relies more on correct guest action, which is why training and staff presence matter.
How zips stop you
Parks use braking systems such as spring brakes, friction systems, or staff-assisted braking depending on the setup. Your job is to follow the body-position instructions exactly, because the “right” landing posture is part of the braking plan.
What staff watch for
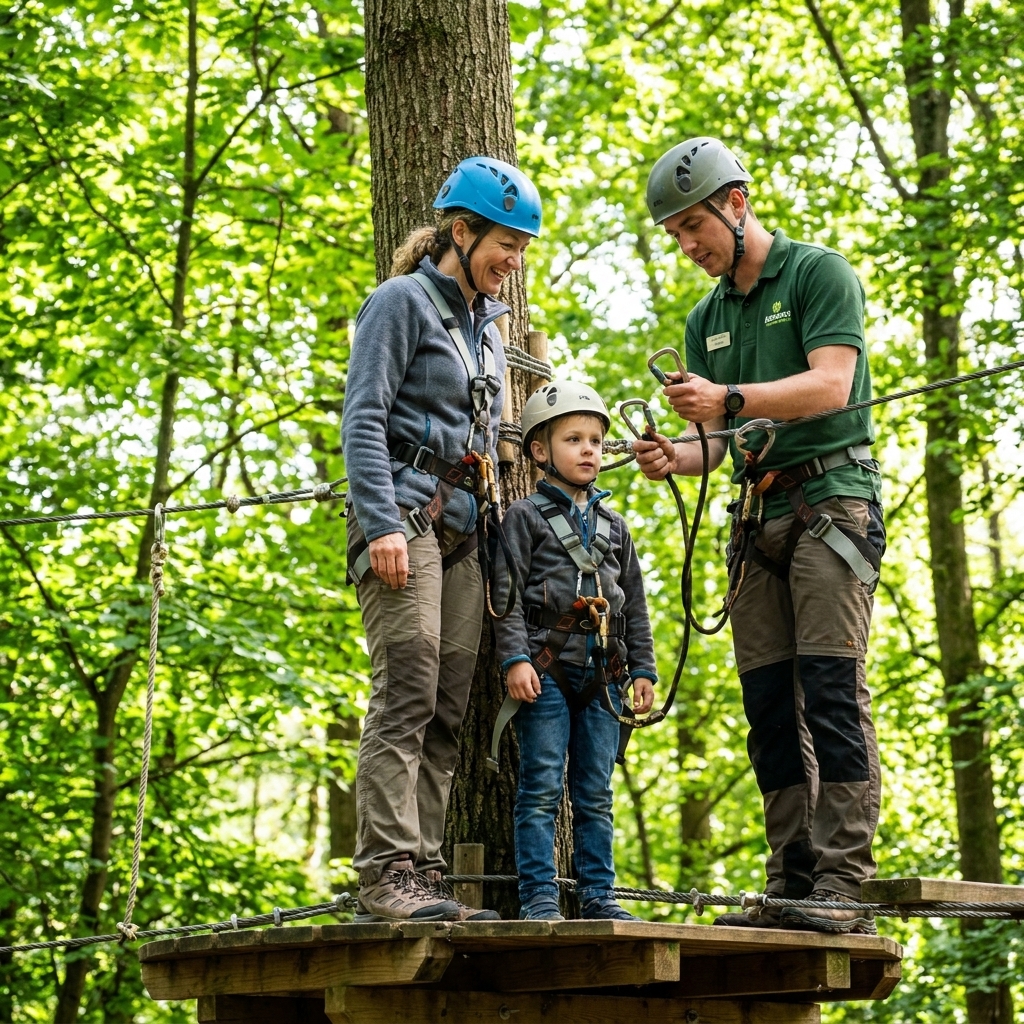
- Harness fit and strap placement
- Correct clip-in method
- Helmet fit
- Guests moving one at a time where required
- Safe spacing on platforms and ziplines
If something feels off, say so. In my event-planning days, the golden rule was always “fix it before it becomes a thing.” Adventure parks live by that too.
First-timer plan
Arrive early
Plan to arrive 30 to 45 minutes early to handle waivers, bathrooms, water fill-ups, and harness fitting without rushing. If you show up stressed, the course will feel harder than it is.
Take training seriously
Even if you’re adventurous, treat the safety briefing like a mini class. Ask questions. Repeat the steps out loud if you need to. The goal is automatic muscle memory.
Start with a warm-up route
Your first route should feel almost too easy. You’re learning how the platforms sway, how your balance changes, and how your brain reacts to height. Once your body relaxes, you’ll move faster and have more fun.
The three-breath trick
If you freeze on an element, stop and take three slow breaths. Look at your next hand placement, then your next foot placement. Most stalls are decision fatigue, not inability.
Obstacle tips
Wobbly bridges
- Keep your knees soft and your steps small.
- Hold the side ropes lightly. Death-gripping makes you wobblier.
- Look where you want to go, not at the gap beneath you.
Nets and climbs
- Use your legs more than your arms.
- Move one limb at a time to stay stable.
- If you’re shorter, take a second to find the next comfortable square. There’s no prize for rushing.
Tarzan swings
- Commit. Half-commit is how you end up dangling dramatically.
- Let your hips lead and keep your feet slightly in front of you.
- If you miss the landing, reset and try again. Staff expect this.
Longer zips
- Lean back slightly in your harness and keep your legs up as instructed.
- Don’t twist to look behind you mid-zip.
- Follow the braking instructions, even if you feel like you’re going “slow enough.”
Going with kids
Aerial parks can be incredible confidence builders for kids, especially when adults treat the day like an adventure instead of a test.
Before you go
- Explain the harness: Tell them it’ll feel snug like a seatbelt.
- Practice listening: Make “stop and look at the instructor” a game.
- Pick the right course: Start on kid courses designed for their height and reach.
On the course
- Praise effort, not speed: “You kept going” beats “You were fast.”
- One coach voice: Too many adults giving directions can overwhelm kids.
- Snack plan : Have a quick bite ready for the moment they step off the course.
If your kid gets scared
It happens. Ask them to pause, breathe, and tell you what feels scary. Is it height? A tricky step? Fatigue? Staff can often help from the next platform, reroute you to an exit, or coach them through one move at a time.
Outdoor realities
Rain and storms
Light rain is sometimes fine, but lightning is usually an automatic shutdown. Check the park’s reschedule policy before you book, especially in storm-prone seasons.
Heat and humidity
- Hydrate before you arrive.
- Choose breathable fabrics.
- Take breaks. Grip strength fades faster when you’re overheated.
Bugs and sun
- Use insect repellent, but avoid getting it on your hands right before handling clips.
- Apply sunscreen before you gear up and bring a small stick sunscreen for quick touch-ups.
Comfort questions
Every park is different, so the best move is calling ahead with specifics. In general, here are common considerations.
Fear of heights
You don’t have to be fearless to do this. You just need a plan: start on the lowest routes, go early when it’s quieter, and give yourself permission to stop after a win. One good course is a success.
Not very athletic?
You can still have a great time. Choose beginner routes, take your time, and prioritize parks with lots of platforms and optional exits. Upper-body strength helps, but balance and pacing matter more.
Glasses
Wear them if you need them, and consider a sport strap. If you switch to sunglasses, make sure they’re secure.
Your phone
Some parks allow phones secured in a zipped pocket or lanyard system. Many discourage it for safety. If photos are important, ask about on-course photographers or bring a friend who prefers staying on the ground and capturing the best moments.
Course etiquette
- Keep spacing: Follow posted rules on platform capacity and zipline intervals.
- Let faster groups pass: If a park allows passing, do it at platforms when directed.
- Stay patient: Everyone’s learning something on their first route.
- Listen to staff: Their instructions override everything, even your bravest friend.
Packing checklist
- Closed-toe shoes
- Fitted athletic outfit
- Light layer or rain jacket (seasonal)
- Water bottle
- Small snack for after
- Hair tie
- Gloves (if recommended)
- Sunscreen and bug spray
- Photo ID and confirmation email
Beginner FAQ
How long does it take?
Most visits run 2 to 4 hours including check-in, training, and time on courses. Busy weekends can add a little waiting on platforms.
Is it safe for beginners?
Yes, when you follow the rules, attend training, and use the system correctly. Parks are designed with safety lines, routine inspections, and staff monitoring. Your biggest job is paying attention and moving deliberately.
Will I be sore?
Possibly, especially forearms, shoulders, and core. Stretch after, drink water, and don’t be surprised if you feel proud every time you open a door with your tired hands.
Can I quit halfway?
Many parks have exit points or staff-assisted routes down. Ask during the briefing where the exits are and how to request help if needed.
What’s the best first course?
Start with the lowest-difficulty route available, even if you’re adventurous. Use it to learn clipping, pacing, and how your body feels at height. Then move up one level at a time.
Final pep talk
An aerial adventure park is one of those outings where you feel like you did something real. You problem-solved. You laughed at your wobbly legs. You surprised yourself. Book the course that fits your group, show up early, wear the right shoes, and take that first zip like you belong there, because you do.
Planning a first trip? Drop your group size, ages, and the season you’re going in the comments, and I’d love to share what I’d look for in a park and which course level I’d start with.